

How to Achieve a Perfect Finish: Expert Tips on Hardwood Flooring Installation
Installing hardwood flooring can transform your living space, adding warmth, elegance, and timeless beauty. However, achieving a flawless finish requires a careful approach and attention to detail. In this guide, we share expert tips to ensure your hardwood flooring installation results in a pristine, long-lasting surface.
1. Preparing for Hardwood Flooring Installation
Preparation is key to a successful hardwood floor installation. Before laying the first plank, make sure the subfloor is clean, dry, and level. A well-prepared surface will ensure your new floor sits securely and smoothly.
- Subfloor Inspection: Ensure the subfloor is free from moisture, debris, and uneven patches. This is especially important to prevent future warping or gaps.
- Acclimatization: Hardwood flooring must be acclimatized to your home’s temperature and humidity levels for at least 48 hours. This prevents expansion or contraction after installation, maintaining the wood’s integrity.
2. Choosing the Right Materials and Tools
The quality of materials and tools you use will significantly impact the outcome of your installation. From selecting the right type of hardwood to using precise cutting tools, each decision plays a role in the final finish.
- Selecting the Right Hardwood: Oak, maple, and cherry are popular choices for their durability and stunning grain patterns. Consider factors such as foot traffic, room use, and design aesthetics when choosing your hardwood.
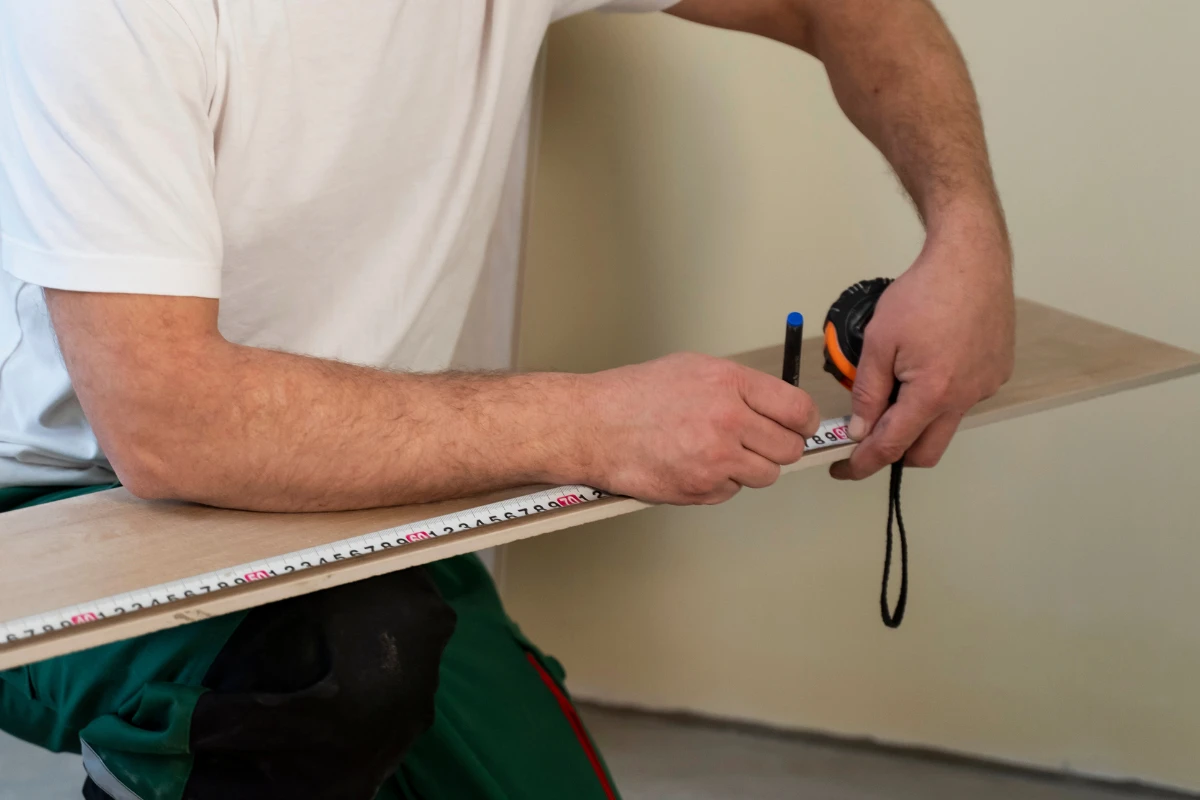
- High-Quality Tools: Ensure you have sharp saw blades, a reliable nail gun, and a tape measure. Precision is crucial in hardwood flooring installation, and quality tools will make the job smoother and more accurate.
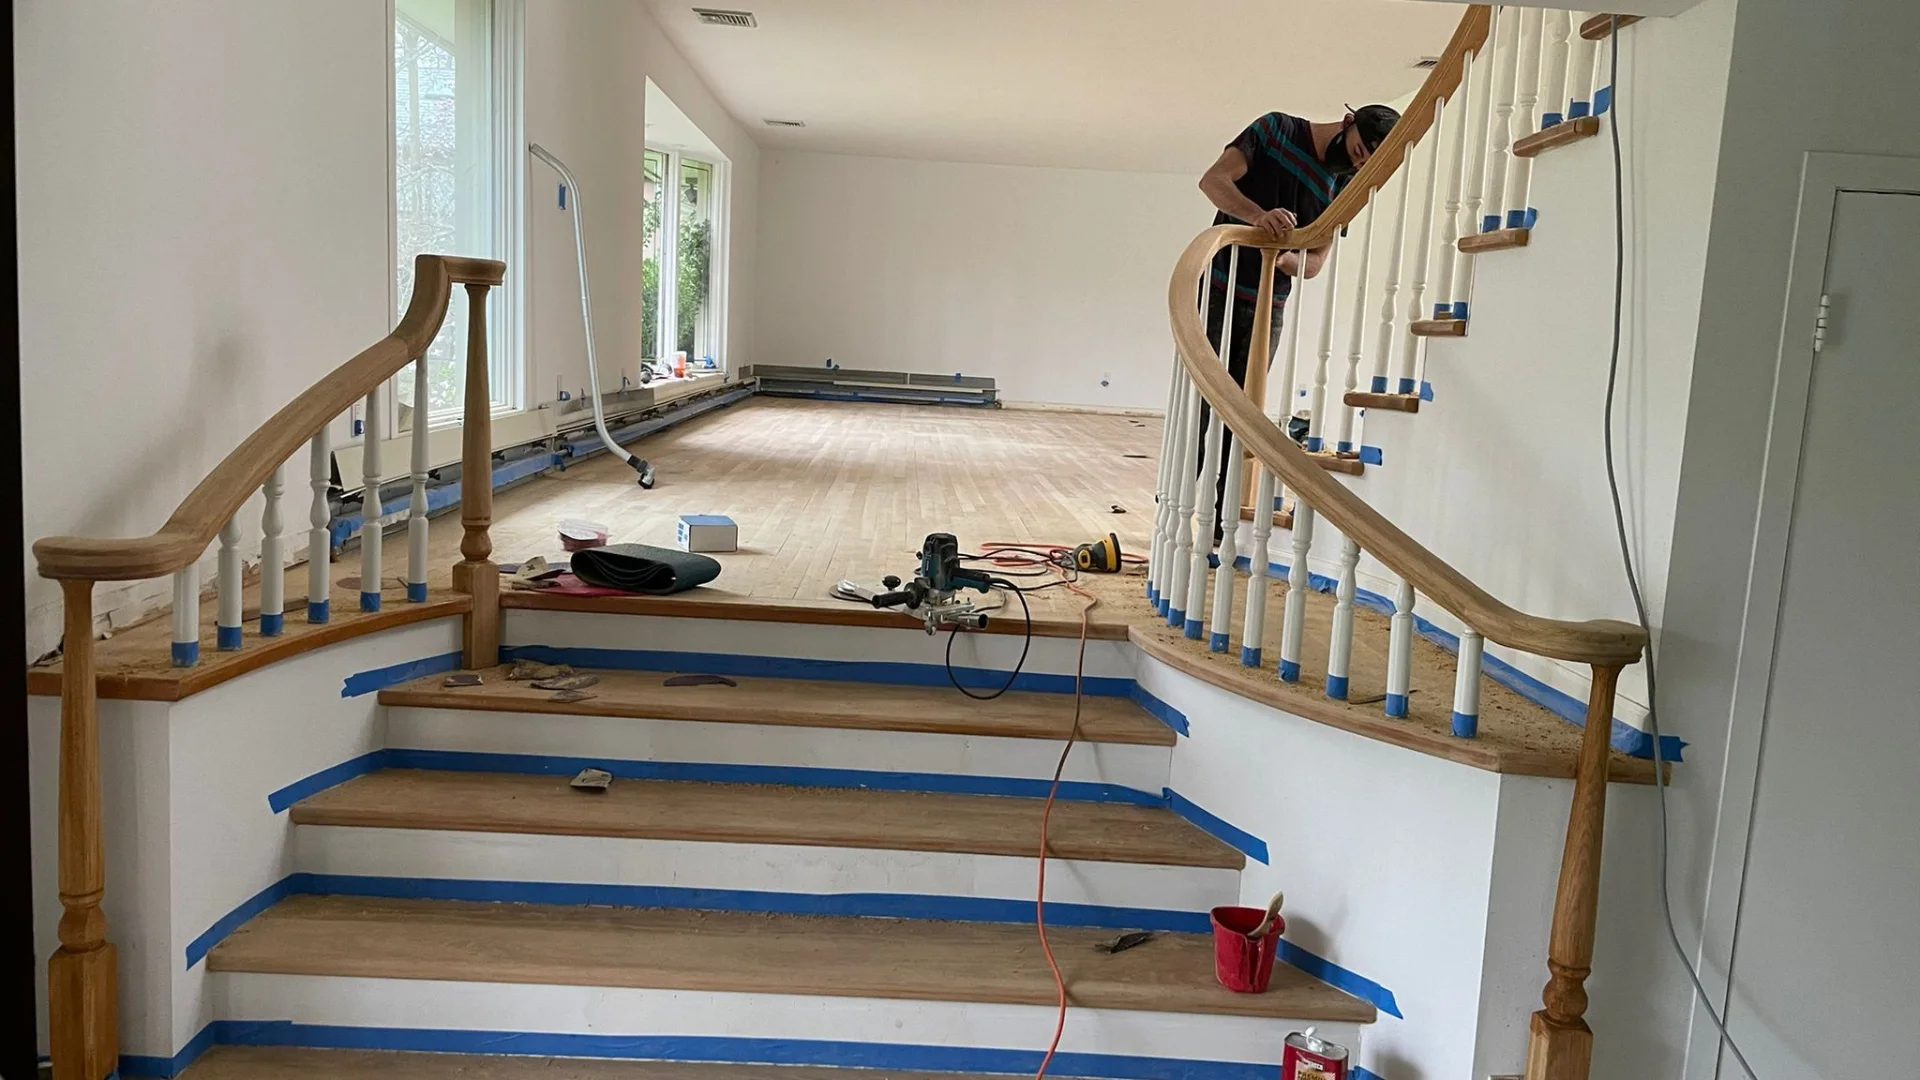
3. Expert Installation Techniques for a Flawless Finish
A perfect finish depends on how well you install the floorboards. Even small mistakes can lead to uneven surfaces, gaps, or squeaks. Here are some key techniques to follow:
- Start with a Straight Line: Establish a straight reference line before laying the first row of boards. A crooked starting row can throw off the entire installation.
- Stagger the Joints: Ensure that the joints between boards are staggered. This creates a stronger, more visually appealing floor and prevents weak spots.
- Nail at the Right Angle: When using a nailer, always drive nails at a 45-degree angle into the tongue of the hardwood. This secures the boards tightly while keeping nails hidden.
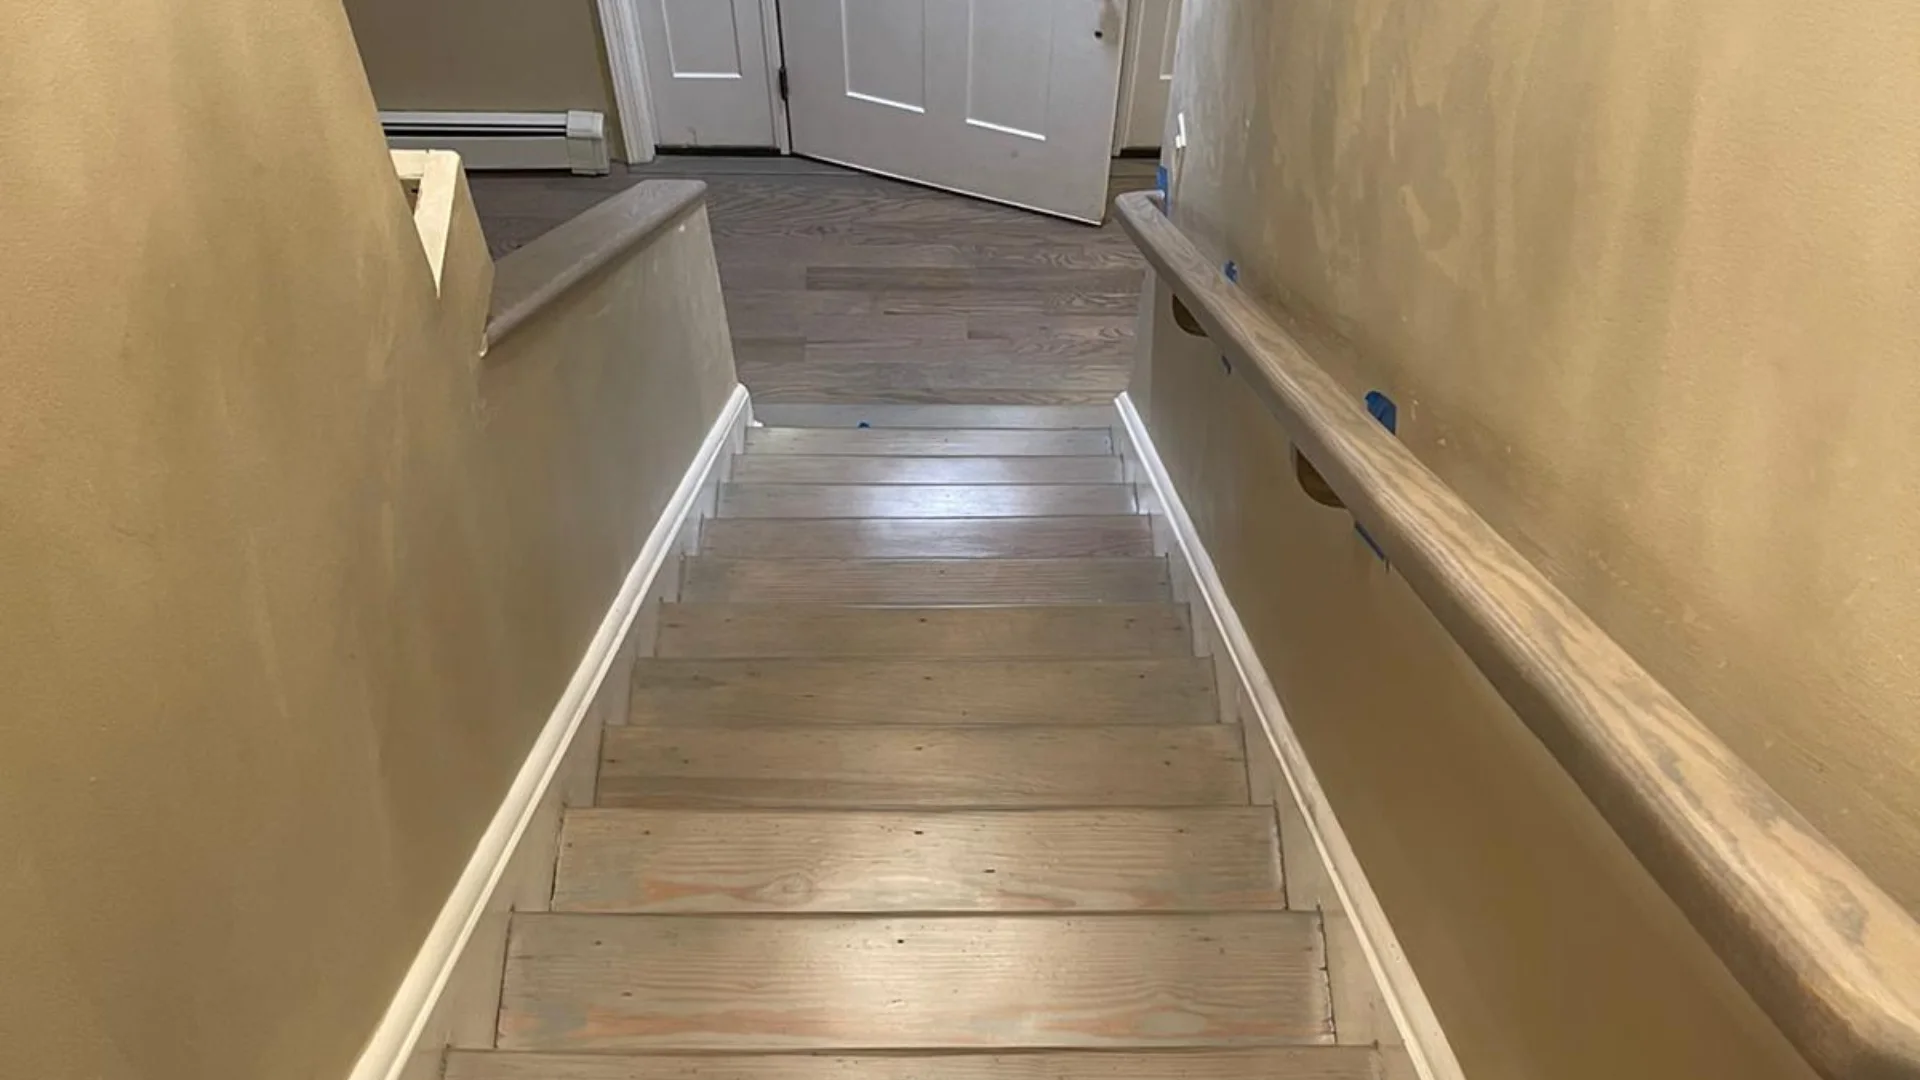
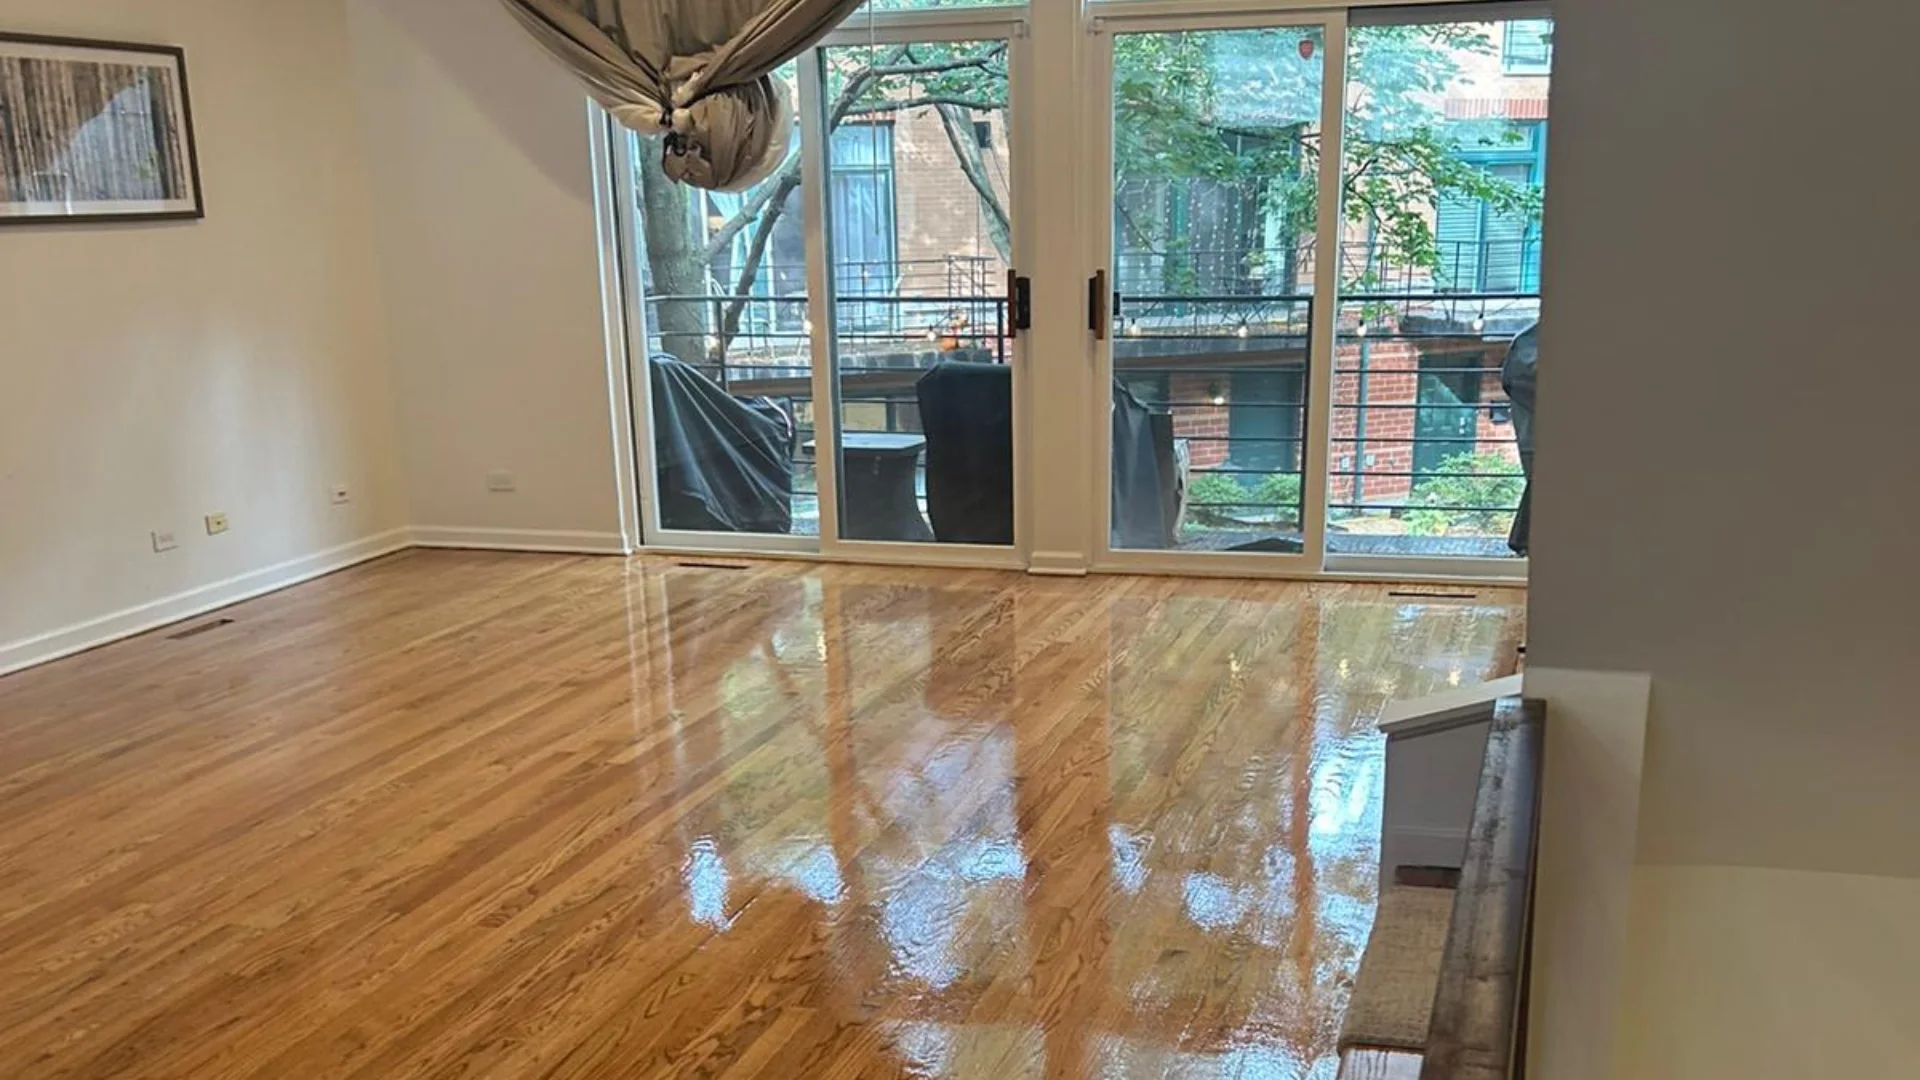
4. Finishing Touches: Sanding and Sealing for Durability
Once the hardwood floor has been installed, the finishing process begins. Sanding and sealing are essential steps to enhance the beauty of the wood and protect it from wear and tear.
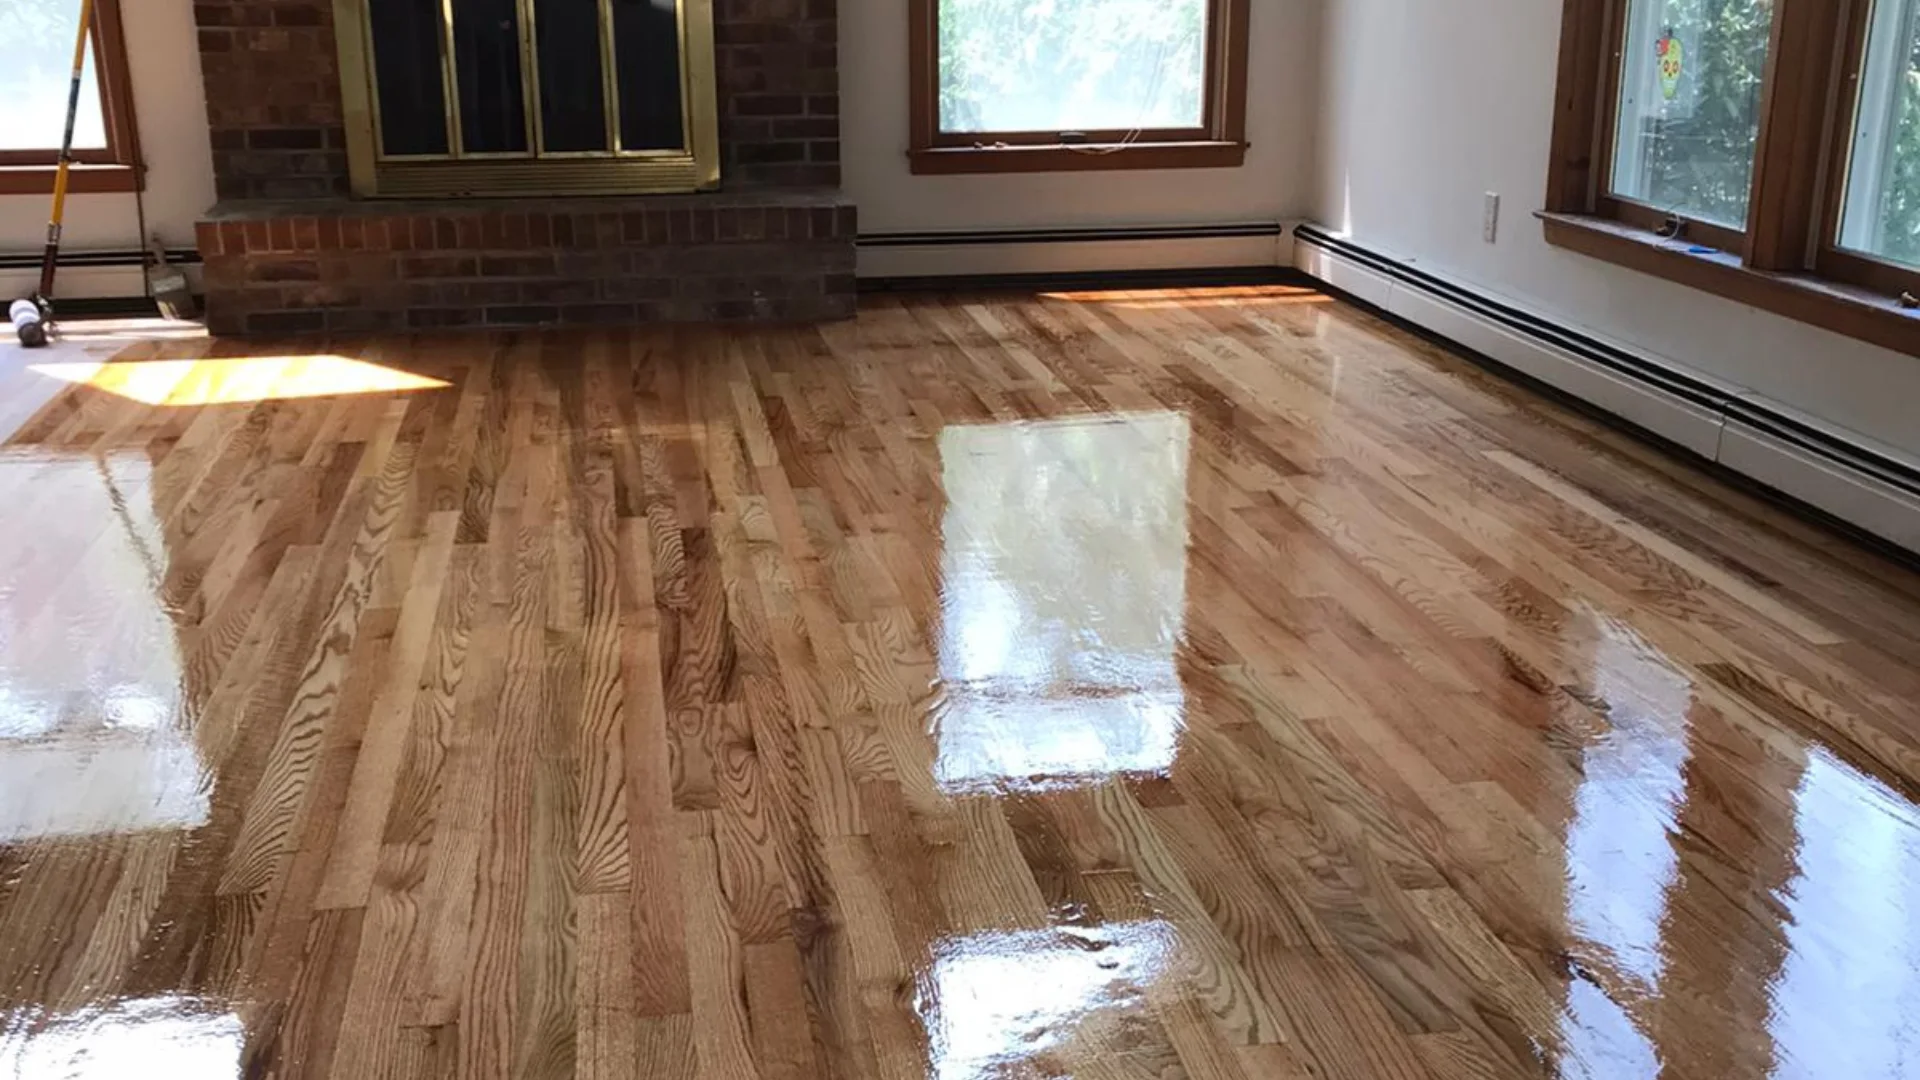
- Sanding for a Smooth Surface: Sand the floor using a drum sander to ensure a smooth, even surface. Begin with coarse sandpaper to remove imperfections, then gradually move to finer grits for a sleek finish.
- Sealing for Protection: Apply a high-quality sealant or finish to protect your hardwood floor from moisture, scratches, and UV damage. Water-based polyurethanes are popular for their durability and eco-friendliness, while oil-based finishes offer a rich, warm glow.
5. Maintaining Your Hardwood Floors After Installation
Once your hardwood floors are installed and sealed, proper maintenance will ensure they look pristine for years to come. Here are some essential maintenance tips:
- Regular Cleaning: Sweep or vacuum your hardwood floors regularly to remove dirt and debris that can cause scratches. Use a microfiber mop for deep cleaning with a wood-safe cleaner.
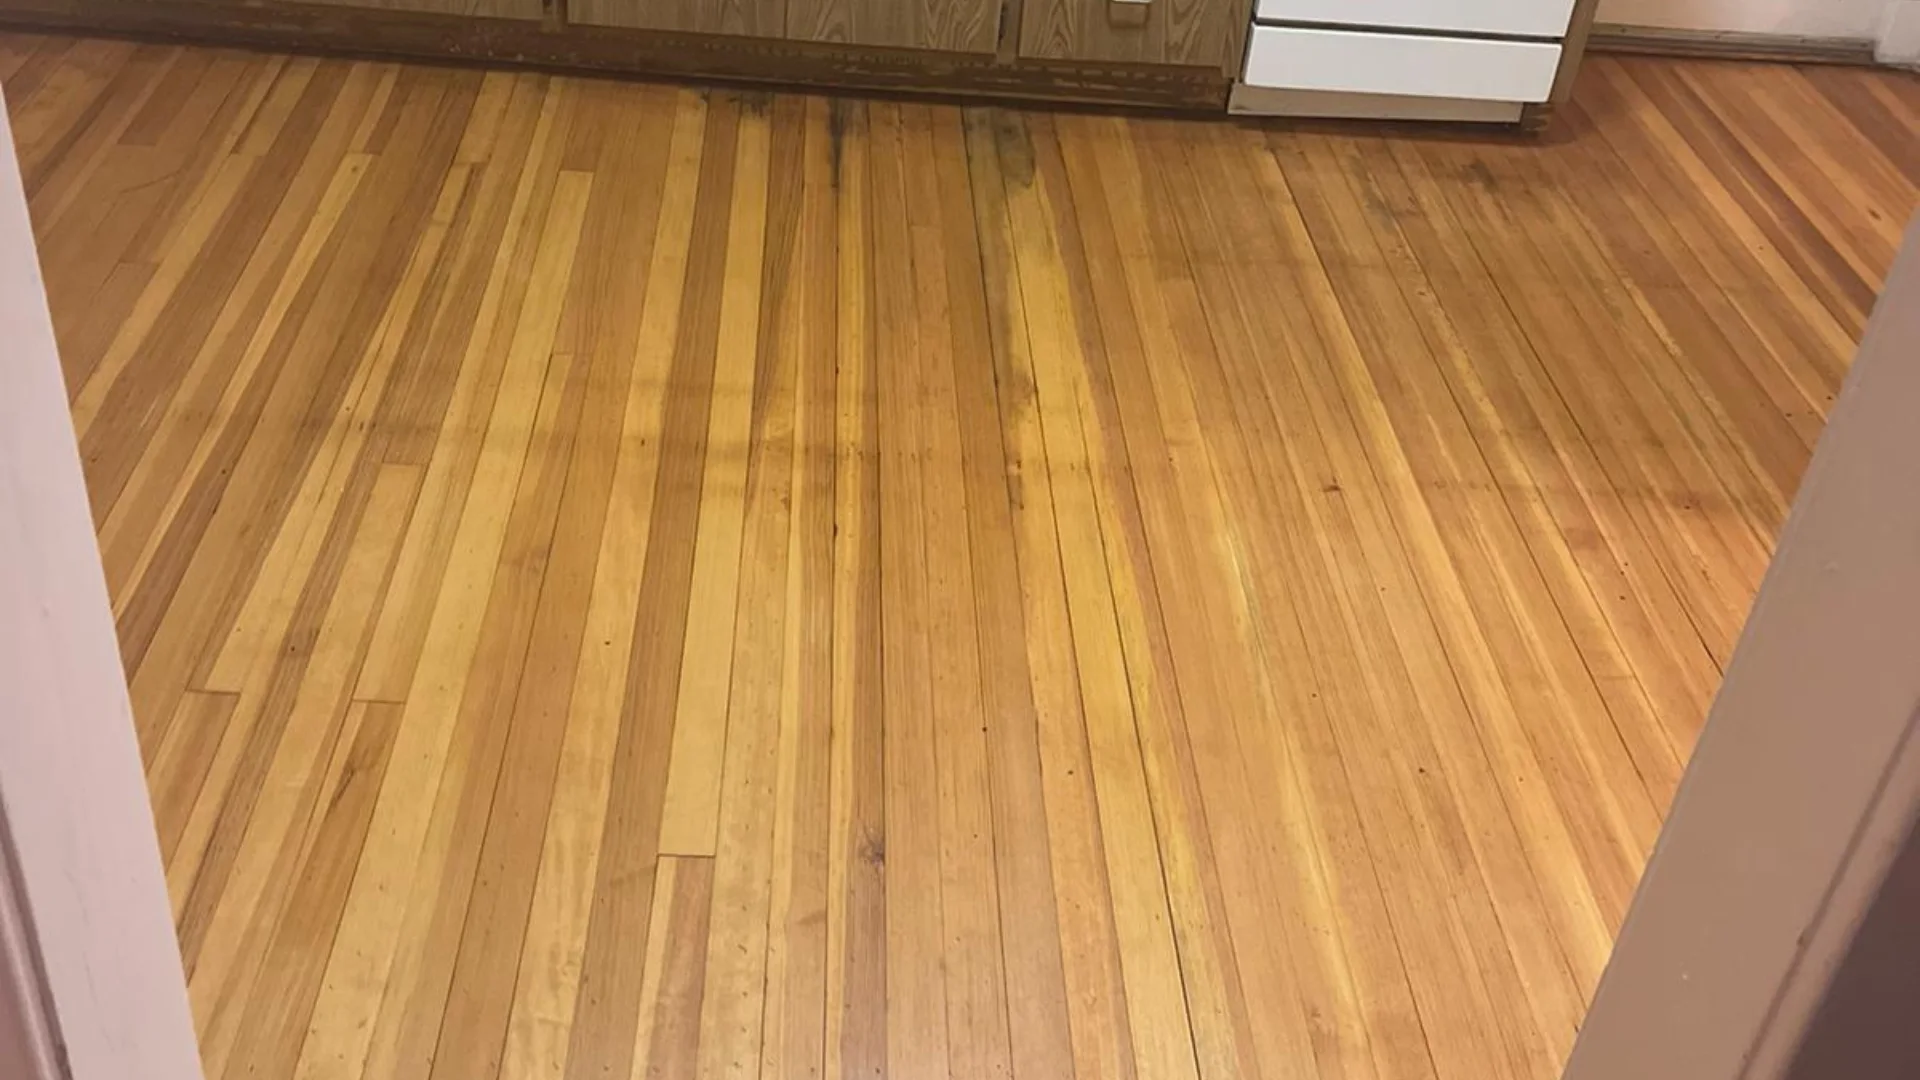
- Avoid Water Damage: Hardwood floors are sensitive to moisture. Wipe up spills immediately, and avoid using a wet mop to clean your floors.
- Protect High-Traffic Areas: Use area rugs and furniture pads to prevent excessive wear in high-traffic areas and under furniture.
6. Common Installation Mistakes to Avoid
Even experienced installers can make mistakes, so it’s essential to avoid common pitfalls during hardwood flooring installation.
- kipping the Acclimatization Step: Rushing the acclimatization process can result in boards expanding or contracting after installation, leading to unsightly gaps.
- Using the Wrong Fasteners: Always use the recommended nails or staples for your type of hardwood. Using the wrong fasteners can damage the boards or lead to loose planks.
- Not Checking for Moisture: Installing hardwood over a damp subfloor will cause the wood to warp or buckle over time. Always use a moisture barrier if necessary.
Conclusion: Achieving Perfection in Hardwood Flooring Installation
With the right preparation, materials, and techniques, you can achieve a perfect finish in your hardwood flooring installation. By following these expert tips, you’ll not only enhance the beauty of your home but also ensure your floors stand the test of time. Whether you’re tackling the project yourself or hiring professionals, attention to detail and quality craftsmanship are key to transforming your space with hardwood flooring.
Ready to Transform Your Home?
Contact us today to get started on your hardwood flooring project! Visit Ramos Wood Floors for a free consultation and discover how we can elevate the beauty of your home.