Ultimate Guide to Hardwood Floor Repair: Fixing Common Issues Like a Pro

Hardwood floors add timeless beauty and warmth to any space, but over time, they can suffer from wear and tear. Knowing how to address common issues like scratches, squeaks, gaps, and water damage can help maintain the integrity and beauty of your hardwood flooring. In this ultimate guide, we’ll walk you through how to repair hardwood floors like a pro, ensuring your floor remains in pristine condition for years to come.
1. Assessing the Condition of Your Hardwood Floors
Before diving into repairs, it’s important to assess the overall condition of your hardwood floors. Identifying the specific problems will help you determine the best approach for repairs.
- Common Issues to Look For:
- Scratches and scuffs
- Gaps between floorboards
- Water stains or discoloration
- Squeaky or loose boards
- Warping or buckling
By taking a close look at the condition of your floor, you can create a prioritized plan to tackle the repairs efficiently.
2. How to Repair Scratches and Scuffs on Hardwood Floors
Scratches are a natural part of having hardwood floors, especially in high-traffic areas. The good news is that many scratches are easily fixable without professional intervention.
- For Light Scratches: Light scratches can often be resolved with a hardwood floor repair kit or even a simple wax stick that matches your floor color. Rub the wax into the scratch, buff the area with a soft cloth, and watch as the scratch disappears into the floor’s natural texture.
- For Deeper Scratches: If the scratch is more pronounced, you might need to take an extra step. Sand the area lightly with fine-grit sandpaper, apply a matching stain, and finish off with a protective sealant to blend it seamlessly with the surrounding wood. This will not only repair the damage but also prevent future issues.
3. Fixing Gaps Between Floorboards
Gaps between floorboards are usually caused by fluctuations in temperature and humidity, which cause the wood to expand and contract. While minor gaps are common and may close up on their own, larger or permanent gaps need a bit more attention.
- Using Wood Filler for Small Gaps: For smaller gaps, a quality wood filler can do wonders. Simply apply it to the gap, allow it to dry, and sand it smooth. Once it’s blended with your floor’s color, you’ll hardly notice the difference.
- Wood Slivers for Larger Gaps: For more significant gaps, wood slivers—thin pieces of wood cut to size—can be inserted. Apply wood glue to secure them, trim any excess, and sand down the area before refinishing for a flawless look.
4. How to Silence Squeaky Hardwood Floors
Squeaky floors can be a nuisance, but they don’t have to be a permanent problem. The squeaking often happens when floorboards rub against the subfloor or against each other.
- Using Talcum Powder: A simple, non-invasive fix is to sprinkle talcum powder between the floorboards where the squeaking occurs. The powder acts as a dry lubricant, helping reduce friction and silence the squeak.
- Securing Loose Floorboards: If the squeak persists, securing the boards with finishing nails is a more permanent solution. Drive nails into the boards at an angle to keep them firmly in place, then fill the nail holes with wood filler for a clean, polished appearance.
5. Treating Water Damage on Hardwood Floors
Water is the enemy of hardwood floors. Whether it’s from a spill, a leak, or even high humidity, water can cause significant damage, including stains, warping, and even mold growth if left untreated.
- Removing Water Stains: For surface-level water stains, a simple paste of baking soda and water can often lift the stain. Gently rub the area with the mixture, then wipe it clean. For deeper stains, sanding and refinishing the area may be necessary to restore the wood.
- Repairing Warping or Buckling: If your floors have started to warp or buckle, the repair process is more involved. You’ll likely need to replace the damaged boards entirely. Before you install new boards, ensure the subfloor is completely dry to avoid recurring issues.
6. Replacing Damaged Floorboards
When a hardwood floorboard is beyond repair—whether from deep scratches, gouges, or severe water damage—replacing the individual board is often the best solution.
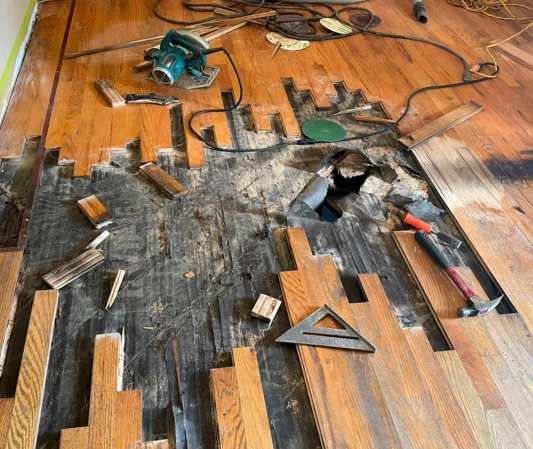
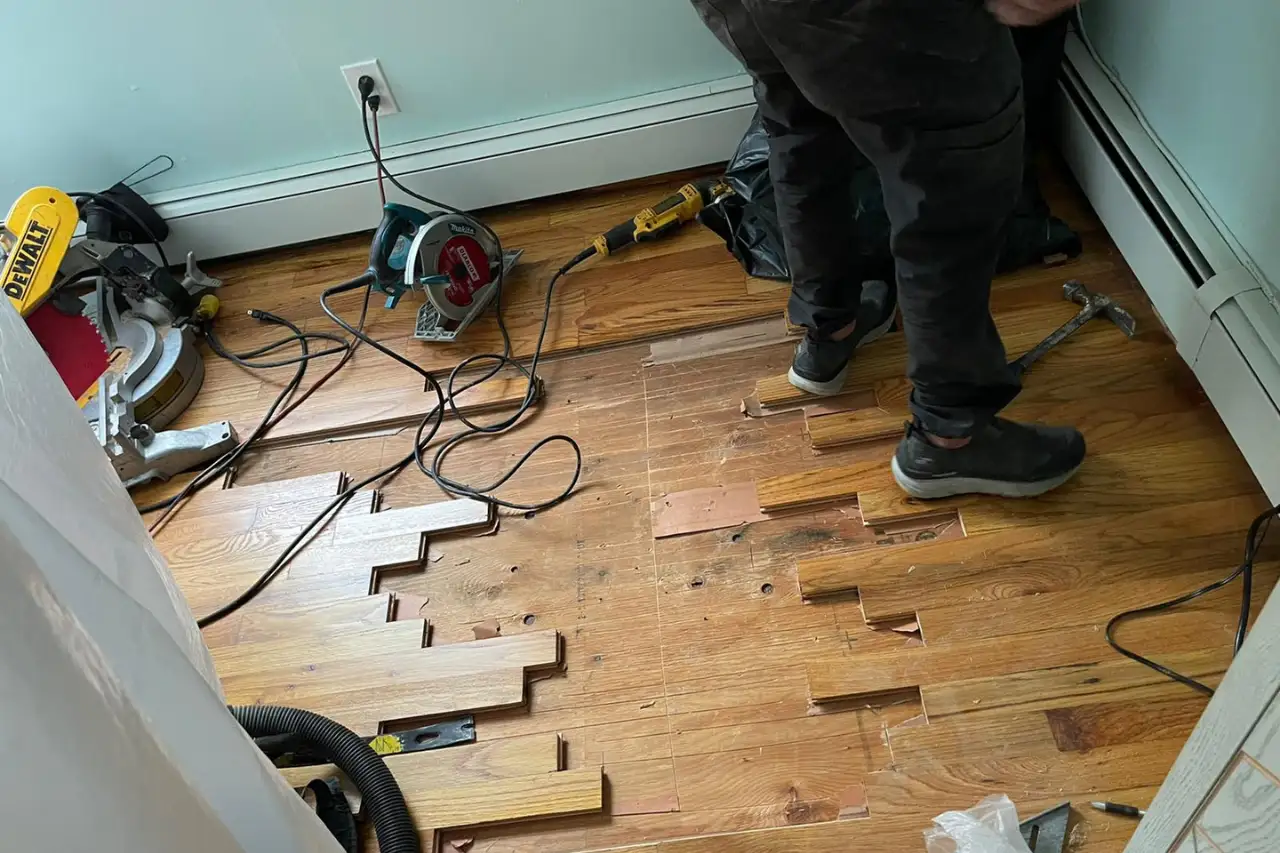
- Removing the Damaged Board: Carefully cut the damaged board using a circular saw, taking care not to damage the surrounding floor. Once removed, clean the area thoroughly to ensure the new board fits securely.
- Installing the New Board: Cut the replacement board to size, fit it into place, and secure it with either nails or adhesive. Sand the area smooth, then refinish it to blend with the surrounding boards for a seamless look.
7. Finishing Your Repairs: Sanding and Sealing
Once your repairs are complete, it’s essential to refinish the floor to ensure everything looks consistent and polished.
- Sanding for a Smooth Finish: After repairs, sand the area to ensure a smooth surface. If your repairs cover a large area, you may want to sand the entire floor to ensure a uniform finish.
- Sealing and Protecting Your Hardwood Floor: Apply a protective finish to seal the wood and protect it from future damage. Whether you opt for oil-based or water-based polyurethane, this finish will provide a layer of protection while enhancing the wood’s natural beauty.
Conclusion: Keep Your Hardwood Floors Looking Pristine

Maintaining the beauty of hardwood floors doesn’t have to be a chore. Whether you’re repairing minor scratches, filling gaps, or addressing water damage, the key to a successful repair is taking the right steps and using the right materials. With the proper care and attention, your hardwood floors can continue to add elegance and warmth to your home for many years to come.
Need professional assistance? At Ramos Wood Floors, we’re here to help with all your hardwood flooring repair needs. Contact us today to schedule a consultation, and let’s keep your floors looking as stunning as the day they were installed.


