
When it comes to keeping your hardwood floors looking their best, forget the idea of intense, once-a-season deep cleans. The real secret, the one professionals swear by, is much simpler: consistent, gentle care beats aggressive, infrequent cleaning every single time.
It’s not about having a closet full of powerful chemicals. It’s about building a smart, simple routine that tackles your floor’s two biggest enemies head-on: fine grit and excess moisture.
The Secret To Lifelong Hardwood Floor Care
The biggest shift you can make is in your mindset. Stop thinking about floor care as a chore you have to power through every few months. Instead, view it as a collection of small, daily habits that prevent damage from ever happening in the first place.
This proactive approach is what truly protects your investment and keeps your floors looking like they were just installed. It all boils down to three core ideas: preventing damage, sticking to a routine, and planning for long-term protection. When you get these right, you’re not just cleaning—you’re preserving.
Understanding Your Floor’s Enemies
Every day, your floors are in a battle with two persistent foes: fine grit and moisture.
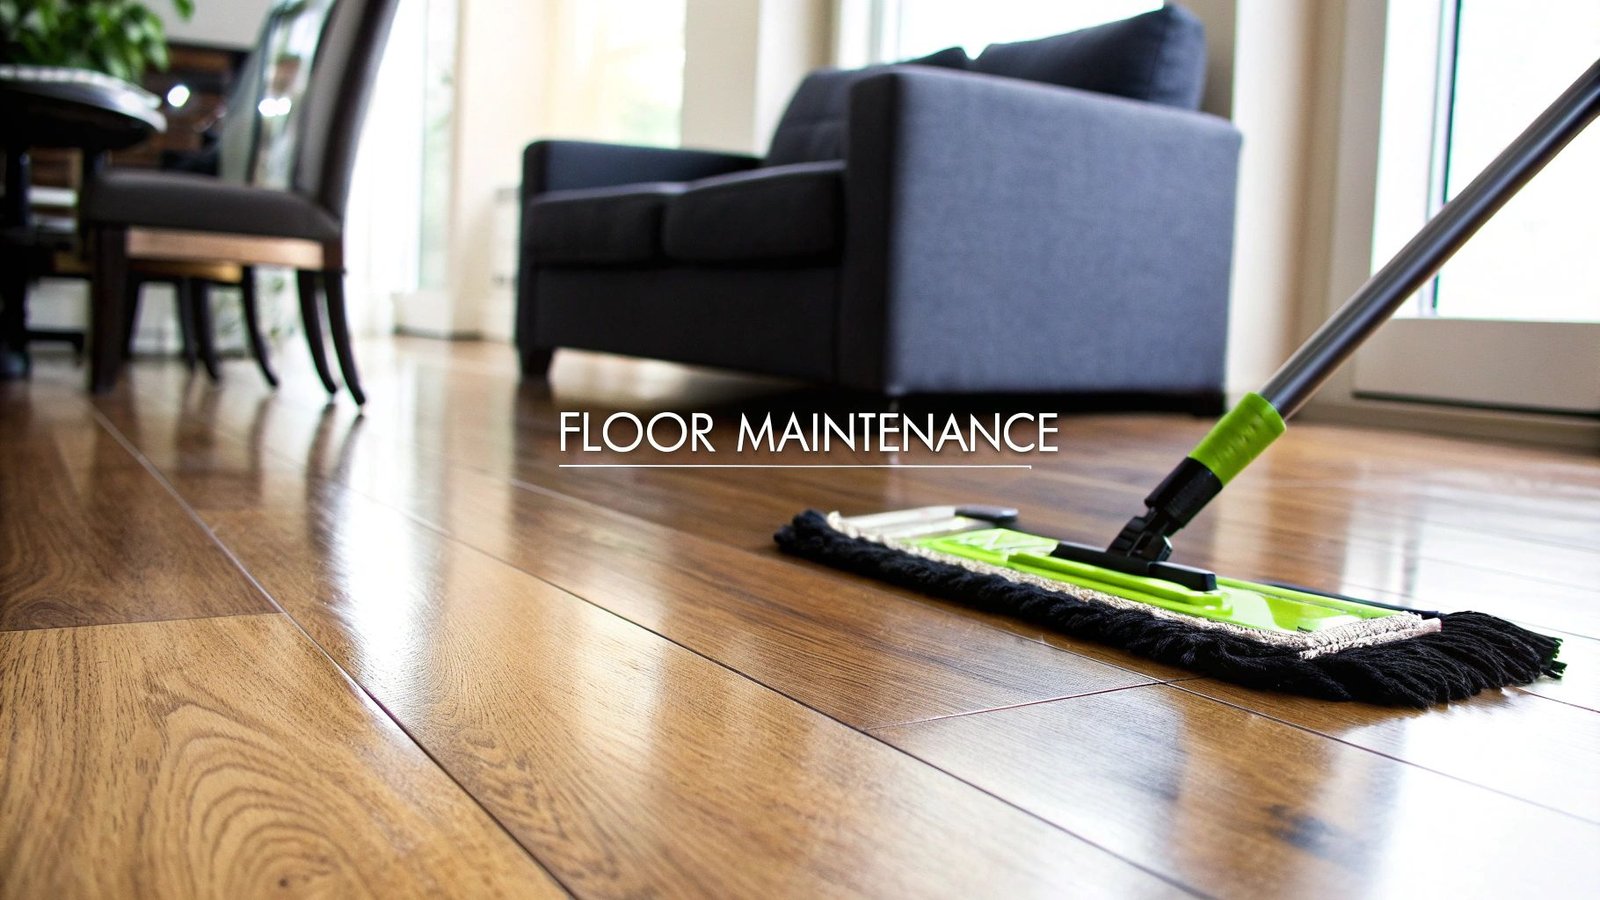
Think of the microscopic dirt, sand, and dust that gets tracked in. With every footstep, those tiny particles act like sandpaper, grinding away at the finish, creating micro-scratches, and slowly dulling the surface. This is exactly why a quick daily sweep or dust mop isn’t just for looks; it’s a non-negotiable part of preserving the finish.
Moisture is just as sneaky and destructive. Water that seeps between the boards can cause them to swell, warp, or even stain permanently. This is why you should never use a soaking wet mop or a steam cleaner on hardwood. A lightly damp mop is truly all you need for a thorough clean.
The most significant damage to hardwood floors doesn’t come from a single major event but from the cumulative effect of tiny scratches and minor moisture exposure over time. Consistent prevention is your best defense.
Building a Practical Maintenance Routine
Creating a routine that actually works doesn’t mean dedicating hours to your floors. It’s about weaving a few simple, high-impact tasks into your daily and weekly schedule.
If you want a full breakdown of the best techniques and cleaners, this guide on how to clean hardwood floors is a fantastic resource that covers all the specifics.
A successful long-term strategy really just involves a few key actions:
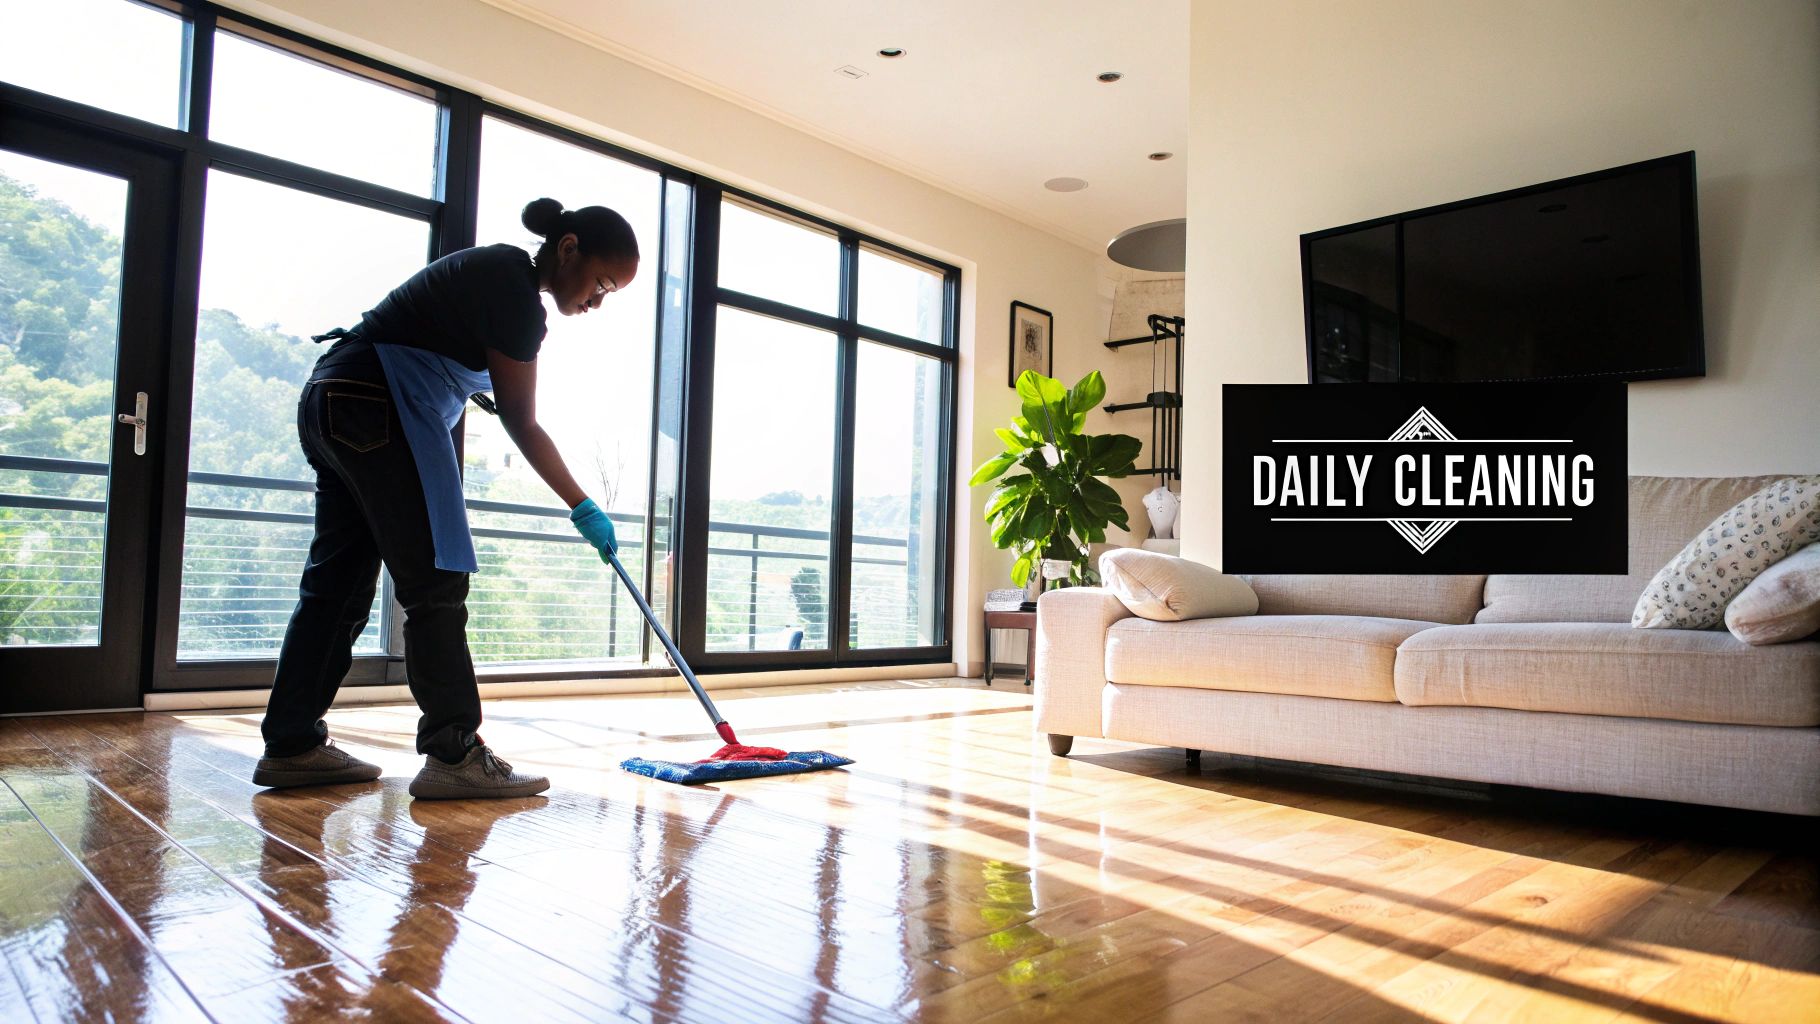
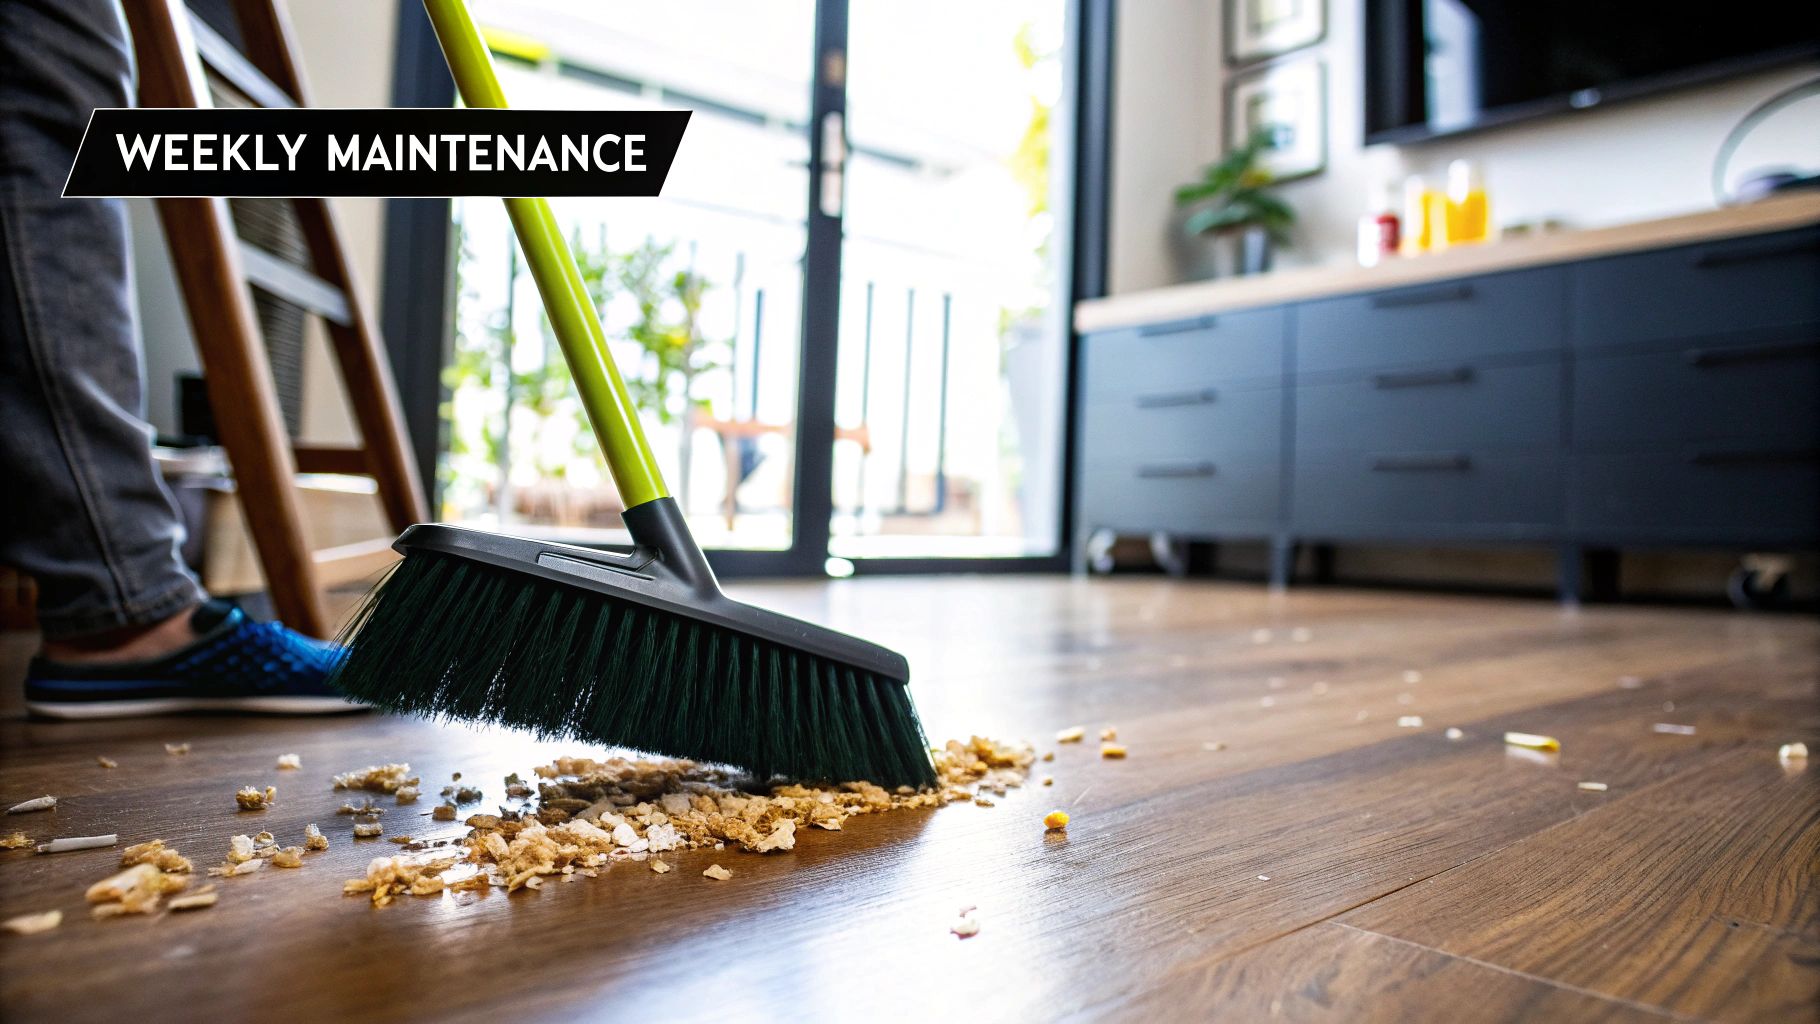
- Daily Sweeping: Grab a microfiber dust mop or a broom with soft bristles. The goal is just to get that surface grit off the floor before it gets ground in.
- Weekly Damp-Mopping: Once a week, use a pH-neutral cleaner made specifically for wood floors. Remember, spray the mop head, not the floor directly, to control the moisture.
- Preventative Measures: This is huge. Put felt pads on the bottom of all your furniture—chairs, tables, sofas, everything. And place durable mats at every single entrance to your home to trap dirt before it ever hits the wood.
To make things even easier, here’s a quick cheat sheet you can reference to stay on track.
Your Hardwood Floor Maintenance Cheat Sheet
This table gives you a simple overview of the most critical hardwood care tasks, how often you should do them, and why they’re so important for keeping your floors in pristine condition.
| Maintenance Task | Recommended Frequency | Primary Goal |
|---|---|---|
| Dust Mopping/Sweeping | Daily or every other day | To remove fine grit and debris that can scratch the finish. |
| Damp Mopping | Weekly (or as needed for spills) | To clean the surface without introducing damaging moisture. |
| Placing & Shaking Mats | Daily/Weekly | To trap dirt, sand, and water at the source (entrances). |
| Checking Furniture Pads | Every 3-6 months | To prevent scratches from furniture movement. |
| Professional Screen & Recoat | Every 3-5 years | To refresh the top layer of finish before it wears through. |
| Full Sand & Refinish | Every 10-20 years | To address deep scratches and wear by removing the old finish. |
Think of this schedule as a long-term game plan. A little bit of effort on a regular basis goes a long way, saving you from much bigger headaches and expenses down the road.
Building Your Daily and Weekly Cleaning Rituals
If you want your hardwood floors to last a lifetime, it all comes down to consistent care. Forget about intense, once-in-a-while scrubbing sessions. The real secret is building simple daily and weekly habits that stop damage in its tracks. This approach keeps your floors looking incredible without eating up your weekends.
The single most important thing you can do every day is get rid of surface grit. That fine dust, dirt, and sand tracked in from outside isn’t just messy—it’s like fine-grit sandpaper. Every time someone walks across the floor, these tiny particles are ground into the finish, creating micro-scratches that eventually make your beautiful floors look dull and worn out.
A quick daily pass with a soft-bristle broom or a dry microfiber mop is your best line of defense. It’s a simple move that lifts away all that damaging debris before it has a chance to get ground in. Don’t underestimate how effective this one habit is. In fact, keeping your floors free of grit prevents the vast majority of surface scratches—some studies suggest it’s as high as 90%—that can ruin a finish over time.
The Weekly Damp Mop, Done Right
Once a week, it’s time to go a little deeper, but the key here is to be smart about moisture. Water is wood’s worst enemy, so you’re aiming for a damp mop, never a wet one. A sopping wet mop will push water down into the seams between your floorboards, which can lead to swelling, ugly discoloration, and serious long-term damage.
The best way to do this is with a microfiber mop and a spray bottle filled with the right cleaner.
- Pick the Right Cleaner: Always, always use a pH-neutral cleaner made specifically for hardwood floors. A lot of people reach for common household products like vinegar, but its acidity will slowly eat away at your floor’s protective finish, leaving the wood vulnerable.
- Spray the Mop, Not the Floor: Lightly mist your microfiber pad with cleaner until it just feels damp. You should never spray cleaner directly onto the wood, as it can easily puddle and oversaturate the boards.
- Mop with the Grain: As you clean, work in sections and move your mop in the same direction as the wood planks. This little trick helps hide any potential streaks and leaves you with a beautiful, uniform look.
Dealing with everyday messes? If you have a sticky spill in the kitchen, clean it up right away with a damp cloth and a bit of your pH-neutral cleaner. For those muddy paw prints by the back door, let the mud dry completely first. You can usually vacuum most of it up without smearing, then spot-clean what’s left. We cover more of these real-world situations in our guide with expert tips for cleaning hardwood floors.
The “less is more” approach is your best friend when it comes to mopping. A barely damp mop head has more than enough power to lift dirt without putting your beautiful hardwood at risk of moisture damage.
Proactive Strategies to Prevent Floor Damage
Here’s a little secret from someone who’s seen it all: the best way to maintain your beautiful hardwood floors has almost nothing to do with cleaning. It’s all about prevention. By creating a floor-friendly environment in your home, you can stop damage before it even has a chance to start, saving yourself a ton of headaches and money down the road. These simple adjustments make a world of difference.
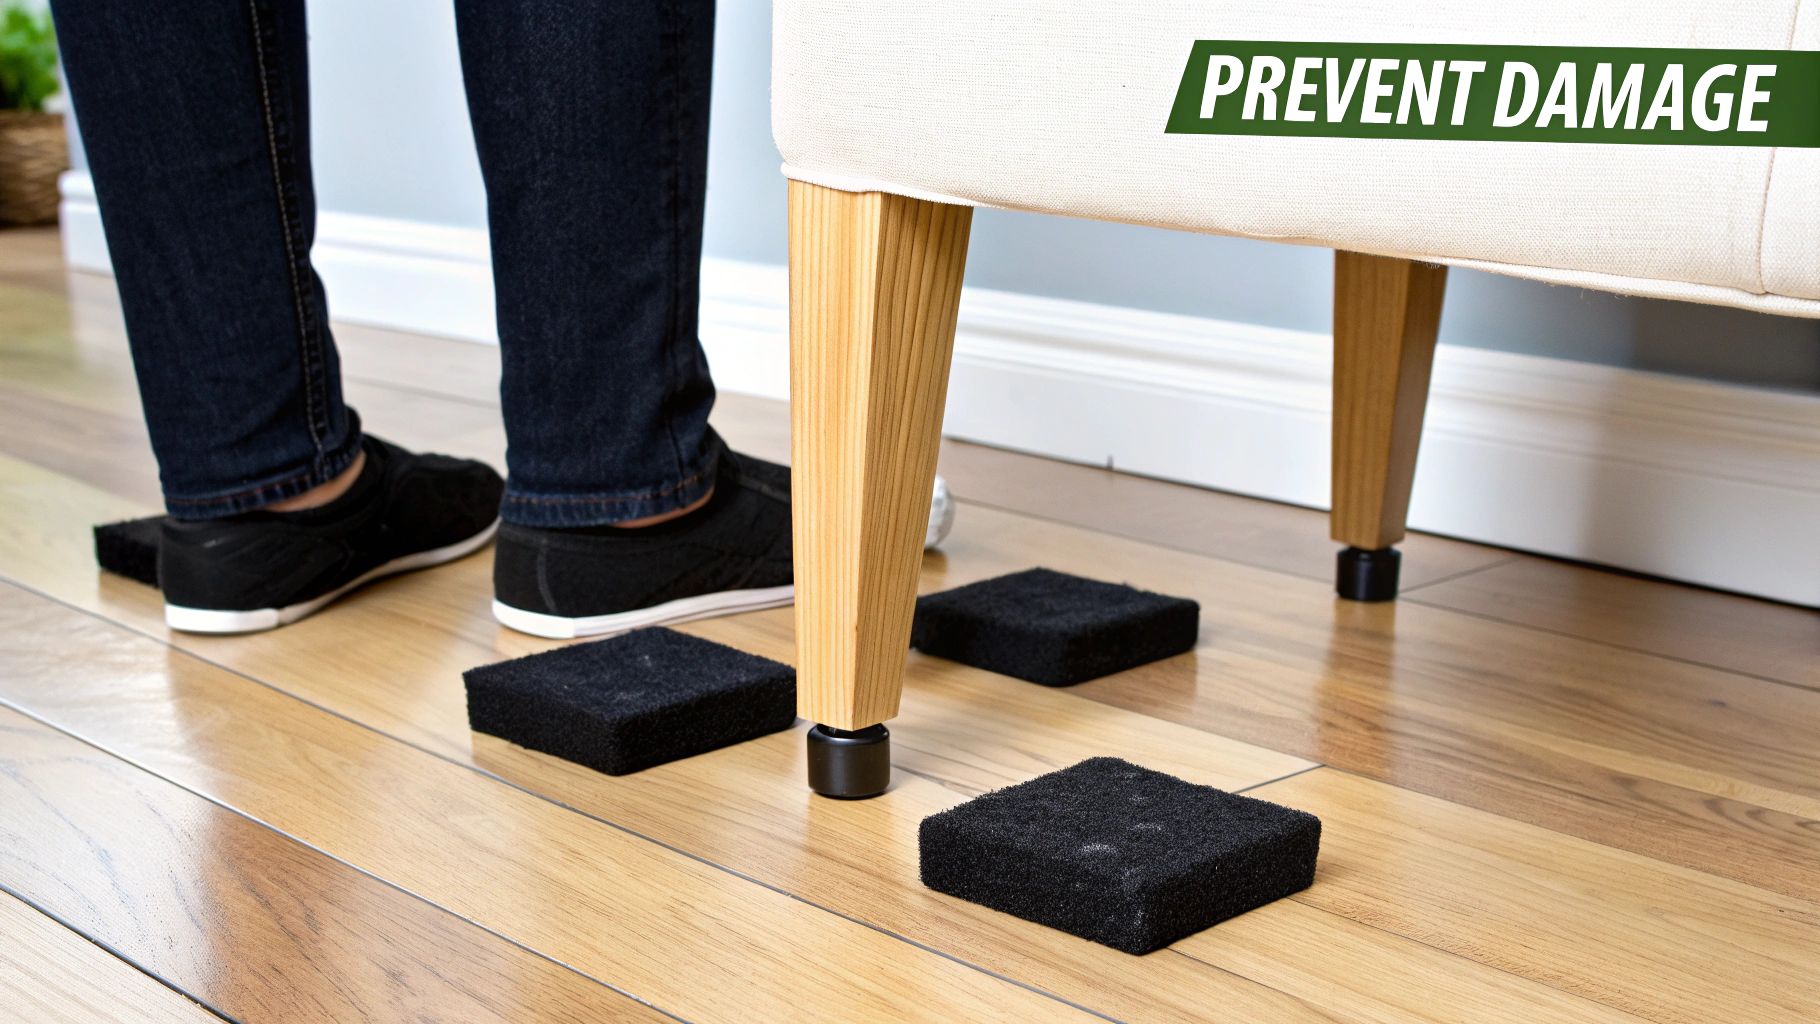
One of the easiest wins? Your furniture. Every time a chair scoots across the room or a table gets bumped, its legs can grind tiny bits of dirt into the finish or leave behind a web of fine scratches. The solution is incredibly simple: put high-quality felt pads under every piece of furniture that rests on your floor. I’m talking chairs, tables, sofas, bed frames, and even that heavy floor lamp in the corner.
Your First Line of Defense
Think of your home’s entryways as the main gateway for everything that wants to ruin your floors—grit, gravel, water, you name it. A non-negotiable step in hardwood maintenance is stopping that debris right at the door.
Place durable doormats at every single exterior door. To really guard against wet, muddy seasons, look into waterproof door mats. These are engineered to trap moisture and sand, keeping that mess from ever touching your wood.
For an extra layer of protection, use area rugs in your home’s busiest spots. Good places for these include:
- Hallways and main walkways.
- In front of the kitchen sink to catch water splashes.
- Under the dining room table to handle spills and crumbs.
If you want to adopt one single habit that will protect your floors more than anything else, make your home a “no-shoes” zone. It drastically cuts down on the abrasive grit tracked inside and completely eliminates the risk of dents from stilettos or heavy-soled boots.
Managing Your Home’s Environment
Wood is a natural, living material, and it reacts to its environment—especially humidity. When the air gets too dry (like in the winter), wood loses its moisture and shrinks, which can cause ugly gaps to appear between your floorboards. On the flip side, when it’s too humid, wood soaks up that moisture and expands, which can cause the boards to warp or “cup.”
Your goal is to keep the indoor humidity level between 30% and 50%. You don’t have to guess; a small, inexpensive hygrometer can give you a constant reading. You might need to run a humidifier during dry winter months or rely on your A/C and a dehumidifier in the humid summer to keep things in that sweet spot.
Sunlight is another sneaky culprit. The same UV rays that fade your furniture will bleach your hardwood floors over time, leaving discolored patches where the sun hits most directly. Simply drawing your curtains or blinds during the peak sunny hours of the day will do wonders to prevent this and keep your floor’s color rich and even.
Finally, a quick word for pet owners: keep those claws trimmed! Long, sharp nails can easily scratch up your floor’s finish when your furry friends get the zoomies. Regular trimming is a simple task that protects your floors from thousands of tiny scratches.
By taking these preventative steps, you’ll handle most issues before they become real problems. Of course, accidents can still happen. If you do find some damage, our guide on how to fix common hardwood floor repair issues can walk you through what to do next.
How To Deep Clean And Restore Your Floor’s Shine
Even with the most careful daily cleaning, your hardwood floors will eventually start to show their age. Over time, a subtle haze can develop from tiny micro-scratches and even residue from cleaning products. When that brilliant gleam starts to look a little tired, it’s a clear sign your floors are ready for a deeper clean and a bit of restoration.
But before you grab any products, you need to figure out if the protective finish on your floor is still doing its job.
Is Your Floor’s Finish Still Protecting The Wood?
This is the most important question to answer before you start. There’s a simple but crucial way to check: the water drop test. Just find a spot in a high-traffic area, where the floor gets the most wear, and place a single drop of water on the wood.
Now, watch what happens.
- If the water drop beads up and just sits there, your finish is in great shape.
- If the drop slowly sinks in over a few minutes and leaves a slightly darker spot, the finish is starting to wear thin.
- If the water soaks in almost immediately, darkening the wood, the finish is gone. The raw wood is exposed.
If that water drop disappears right away, stop. Do not apply polish. Putting polish on a floor with a failed finish can trap moisture against the raw wood, leading to black stains and permanent damage. At this point, you’re looking at a job for a professional.
Polish Vs. Professional Refinishing
Understanding the difference here will save you a lot of headaches. A hardwood polish or revitalizer is a temporary solution. Think of it as a cosmetic touch-up that fills in microscopic scratches and gives your floor a short-term glossy boost. It’s perfect for making your floors look sharp between professional services.
However, polish is not a real fix. It won’t do anything for deep scratches, gouges, or the widespread dullness that comes from a completely worn-out finish. For that kind of serious wear, the only true solution is professional sanding and refinishing, which we cover in our guide to restaining wood floors. That’s a process that restores the actual wood itself.
This image lays out the basic steps for a deep clean and polish.
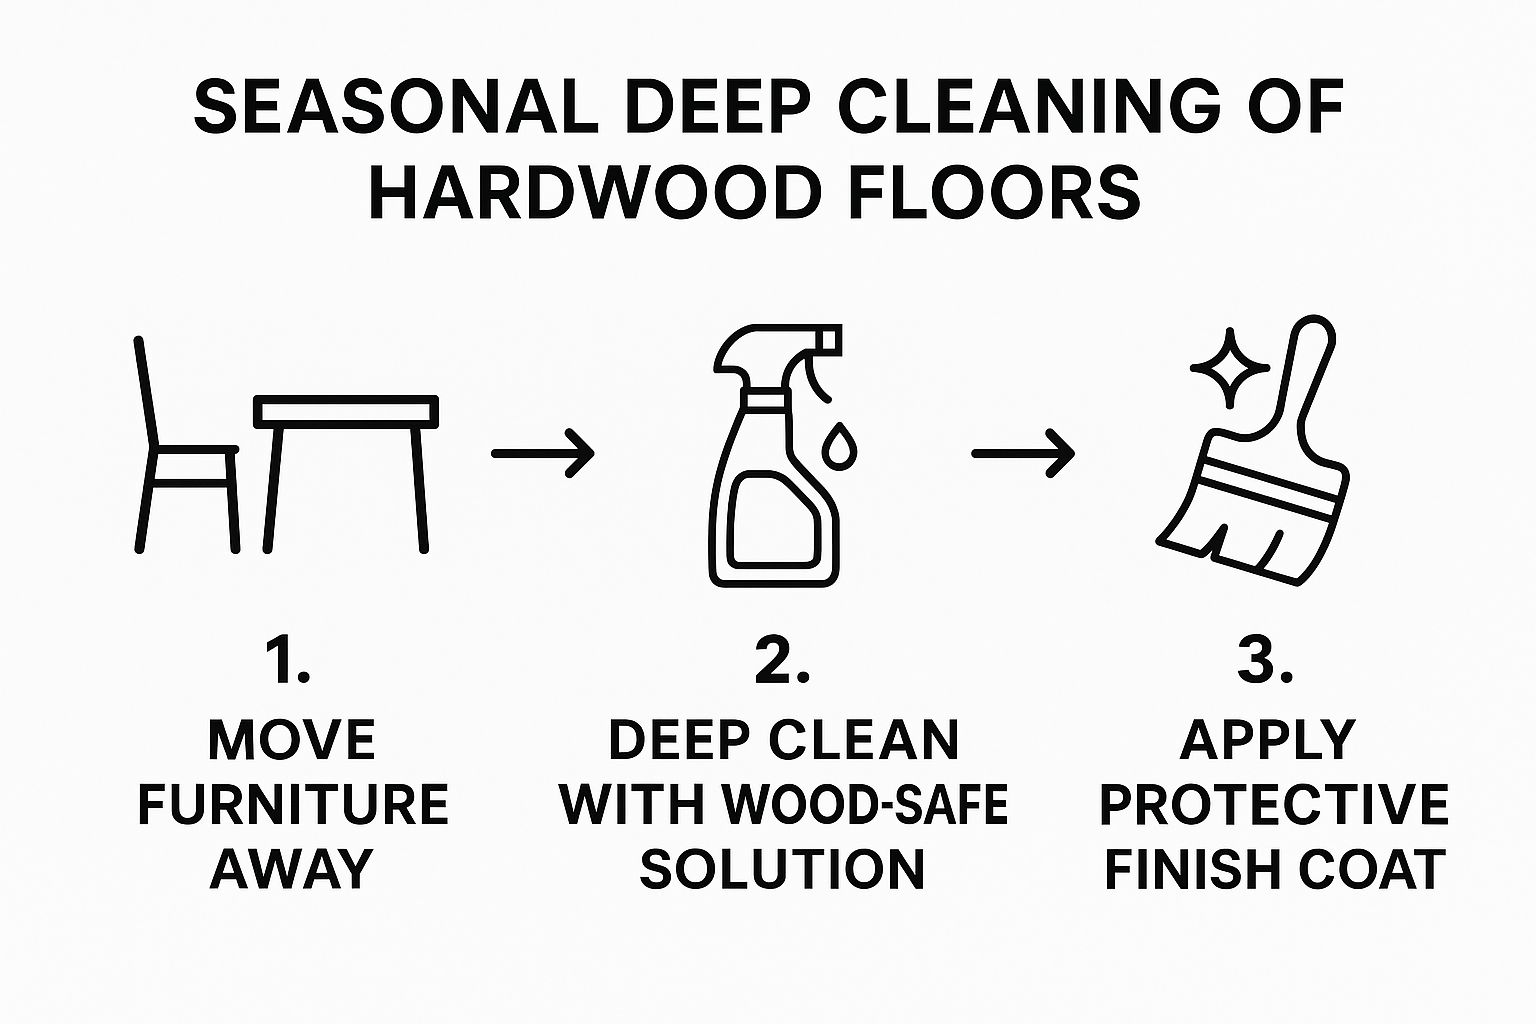
As you can see, a thorough cleaning is the non-negotiable first step. You can’t get a good shine by polishing over dirt.
Applying A Revitalizer For A Streak-Free Shine
So, your floor passed the water test and you’re ready to bring back that glow. Great! Applying a revitalizer is pretty straightforward.
First things first: get everything out of the room. Move all the furniture, then give the floor a meticulous vacuuming and cleaning with a pH-neutral hardwood floor cleaner. Let it dry completely—don’t rush this part.
Grab a clean, flat-head microfiber mop. Pour the revitalizer directly onto the floor in a gentle “S” pattern, working in small, manageable sections. Spread the product evenly, making sure you always move with the grain of the wood. Going against the grain is a recipe for streaks.
Let it dry according to the product’s instructions before you even think about walking on it or moving furniture back in. For a deeper dive, there are some great resources covering expert hardwood floor cleaning and polishing techniques. A little refresh like this every so often will keep your floors looking fantastic.
Recognizing When to Call a Professional
Knowing the ropes of daily and weekly hardwood floor care is fantastic, but let’s be realistic—some problems are simply out of a DIYer’s league. Even the most dedicated homeowner will eventually run into an issue that requires more than a bit of elbow grease.
It’s one thing to deal with a minor surface scuff, but it’s another entirely to face damage that needs specialized tools and years of experience to fix. The key is knowing the difference early on, before a small problem balloons into a costly, irreversible disaster.
You have to learn to distinguish between a simple touch-up and a significant repair. That shallow scratch that only grazed the top finish? You can probably hide that with a good quality wax stick or a stain marker. But a deep gouge that’s torn through the finish and dug into the wood itself? That’s a different story. Getting that filled, sanded, and blended seamlessly is a job for a pro.
Telltale Signs You Need an Expert
There are a few red flags that should have you putting down the cleaning supplies and picking up the phone. Don’t brush these off. They’re often symptoms of deeper issues that will only get worse if ignored.
One of the most serious signs is water damage. If you’re seeing dark, almost black stains creeping across the wood, you have a problem. The same goes for boards that have started to “cup” (curl up at the edges) or “warp” (buckle upwards in the middle). This points to serious moisture getting in, and no amount of DIY work is going to fix it. This usually means replacing planks and, more importantly, finding and stopping the source of the water.
Another major signal is when big patches of your floor just look dull and tired, no matter how often you clean them. If the protective finish has been completely worn away in your main walkways, leaving the raw wood exposed to the elements, the only real solution is a full sand and refinish.
Calling a professional for significant damage isn’t giving up; it’s the smartest, most cost-effective decision you can make. Pros have the heavy-duty equipment—like drum sanders—and the experience to restore floors without causing more damage, potentially adding decades to their life.
The Value of Professional Intervention
Sure, hiring a professional for a full sand and refinish might seem like a big expense upfront, but think of it as an investment. You’re not just fixing a problem; you’re protecting your home’s value and ensuring your floors last. This process strips away all the old, battered finish and any surface-level damage, essentially giving you a brand-new floor.
The payoff in both money and longevity is real. The wood floor renovation services market was valued at roughly $3.1 billion in 2023, and for good reason. Data shows that homeowners who invest in periodic professional maintenance extend their floor’s lifespan by 5 to 10 years compared to those who just stick to basic cleaning. You can dig into more data on the impact of professional wood floor renovation services and its market trends if you’re curious.
It’s time to call in an expert if you spot any of these issues:
- Deep gouges or widespread, heavy scratching that you can feel with your fingernail.
- Any signs of cupping, crowning, or buckling boards.
- A persistent dullness where the finish has clearly worn through to raw wood.
- Any black or gray stains, which are a dead giveaway for water damage.
Trusting a professional ensures the job is done right the first time, protecting your beautiful hardwood floors for years to come.
Not All Hardwood Is Created Equal: Customizing Care for Your Specific Floor
To really get your hardwood floor care right, you have to accept a fundamental truth: there’s no such thing as a one-size-fits-all routine. The specific wood under your feet—and just as importantly, the finish protecting it—are the two factors that dictate how you should clean it.
Jumping in with the wrong products or techniques isn’t just ineffective; it can cause real, lasting damage. It’s like trying to cook a steak and a fish the exact same way—you’re not going to like the results. Figuring out what you actually have is the first, and most important, step to building a care plan that will keep your floors looking beautiful for decades.
Solid vs. Engineered Wood: A Crucial Difference
At a quick glance, solid and engineered hardwood can look almost identical. But how they’re built makes a world of difference in how you care for them.
Solid hardwood is just what it sounds like—planks made from a single, solid piece of wood. It’s incredibly durable. The real magic of solid wood is that it can be sanded down and refinished over and over again. With the right care, a solid hardwood floor can easily last a century or more.
Engineered hardwood, on the other hand, is built in layers. It has a thin slice of real, beautiful hardwood on top, which is bonded to a core of high-quality plywood. This construction gives it fantastic stability, especially against changes in humidity, which is why it’s so popular.
But here’s the trade-off: that top layer of real wood—what we call the wear layer—is thin. It can only handle being sanded down once or twice in its entire life. Some of the thinner, more budget-friendly options can’t be sanded at all.
The engineered hardwood market is booming, with a projected annual growth of 5.78%. Much of this is driven by its moisture-resistant design. But this also means you have to be extra careful—using pH-neutral cleaners and wiping up spills immediately is critical to stop moisture from getting between the layers. You can see more about trends in the hardwood flooring market and why these details matter.
How Your Floor’s Finish Changes Everything
Even more than the wood itself, the finish is what dictates your day-to-day cleaning. Think of it as your floor’s shield, its first line of defense against everything life throws at it. The two big categories you’ll run into are surface finishes and penetrating finishes, and they need completely different approaches.
- Polyurethane & Surface Finishes: This is what you’ll find on most modern floors. It’s a durable, clear coat that sits right on top of the wood, like a protective sheet of armor. These floors are wonderfully low-maintenance. A simple sweep and a mop with a pH-neutral cleaner are all they need. Whatever you do, never use wax or oil-based soaps on a polyurethane finish. You’ll end up with a hazy, greasy buildup that’s a nightmare to get off.
- Oil & Penetrating Finishes: These finishes work differently, soaking into the wood grain itself to create a very natural, low-sheen look that lets you feel the wood’s texture. Instead of forming a plastic-like seal on top, an oil finish needs to be periodically refreshed with more oil to nourish the wood and keep it from drying out. This is a completely different process from polishing a urethane floor. If you put a standard polish on an oiled floor, you’d essentially suffocate the wood, preventing it from breathing and absorbing the maintenance oils it needs to survive.
If you’re not sure what you have, try the water drop test we mentioned earlier. Drip a small bead of water in an inconspicuous spot. If it beads up, you have a sealed surface finish. If it slowly soaks in and darkens the wood, you’ve got an oil or penetrating finish. This simple test is your key to getting the care right, every single time.
Your Top Hardwood Floor Care Questions, Answered
Even after years in this business, I know that maintaining hardwood floors brings up a lot of questions. It’s totally normal. Here are the straight answers to some of the things we get asked most often by homeowners.
Can I Use a Steam Cleaner on Hardwood?
Let me be blunt: absolutely not. I can’t stress this enough. Using a steam cleaner on any hardwood floor, solid or engineered, is a recipe for disaster. That intense combination of heat and moisture forces its way deep into the wood and between the seams of the planks.
This isn’t just a minor issue; it can cause catastrophic damage. You’re looking at things like:
- Warping and cupping, where the boards literally start to bend and pull apart.
- Permanent dark stains and discoloration that you can’t get out.
- The protective finish peeling or blistering right off the wood.
Just stick to a damp mop paired with a proper pH-neutral cleaner made for wood floors. It’s simple, safe, and it works.
Using steam on hardwood is one of the fastest ways to ruin your investment. The heat can break down the polyurethane finish, leaving the raw wood completely exposed to moisture damage.
How Can I Fix Minor Scratches?
It happens to the best of us—a chair gets dragged, a toy gets dropped. For those small, shallow surface scratches that haven’t cut through the finish, you’ve got options. A good touch-up kit or a stain-filled marker designed to match your floor’s color can work wonders, blending the blemish right in.
For a slightly deeper gouge, I usually reach for a soft wax filler stick. You just rub it into the scratch to fill the gap, then gently buff away any excess. No matter which product you choose, always, always test it in a hidden spot first. Inside a closet or under a big piece of furniture is perfect. You need to be sure the color is a perfect match before you put it front and center.
Is Vinegar and Water a Safe Cleaner?
I know, I know—it’s the classic DIY cleaning solution you see everywhere online. But please, don’t use a vinegar and water mix on your hardwood floors. Vinegar is acidic, and over time, that acid will eat away at your floor’s protective finish.
It won’t happen overnight, but you’ll start to notice your floor’s beautiful shine becoming dull and lifeless. Worse, a compromised finish leaves your wood vulnerable to every little stain, scratch, and water spot. Just skip the risk and invest in a quality cleaner with a neutral pH. It’s what they’re made for.
How Often Should I Refinish My Floors?
There’s no single answer here—it really depends on your floor and your lifestyle. If you have solid hardwood in a high-traffic area like a kitchen or entryway, you might be looking at a professional sanding and refinishing every 10-15 years to keep it looking its best.
Engineered hardwood is a different story. That top layer of real wood is much thinner, which means it can typically only be refinished once or twice in its entire lifetime. Some types can’t be refinished at all.
When it comes to significant repairs or a full refinishing project that brings your floors back to life, trust the experts at Ramos Wood Floor LLC. We provide professional, high-quality flooring services to ensure your investment lasts for decades. Get your free consultation today!