
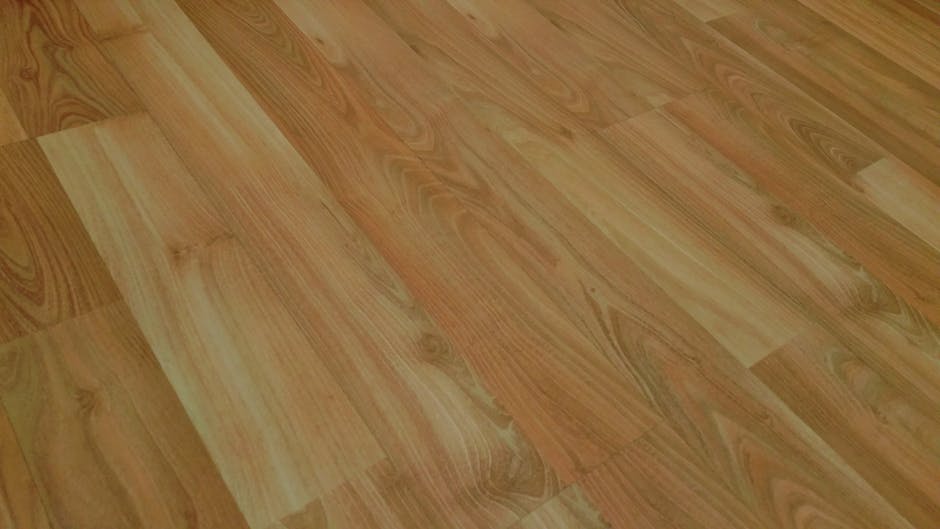
Hardwood floor installation guide serves as the ultimate solution for homeowners eager to transform their living spaces with a touch of timeless elegance and durability. If you’re aiming for a quick answer, here’s what you need to know: installing hardwood floors gives your home a classic look, increases its value, and provides excellent durability.
- Overview: Installing hardwood floors can be a rewarding project that improves the beauty and value of your home.
- Benefits: Durable, easy to clean, increases home value, and improves indoor air quality.
- Preparation: Gather necessary tools, measure your space, and acclimate the wood.
Once you’re ready to dive deeper into the process, you’ll find that careful planning and preparation are keys to a successful installation. Beyond aesthetics, hardwood floors offer a practical edge with their durability and ease of maintenance. They are a smart investment that pays off by boosting your home’s market value and adding warmth and character to your living environment.
Getting started on your hardwood installation journey involves some straightforward steps. Begin by acquiring the right tools and materials. It’s crucial to measure your space accurately and ensure your wood is acclimated to the room’s environment.

Essential Tools and Materials
Before starting on your hardwood floor installation guide, having the right tools and materials is essential for a smooth and successful project. Here’s a quick rundown of what you’ll need:
Tools
- Tape Measure: For precise measurements of your space.
- Chalk Line: Helps in marking straight lines for accurate layout.
- Circular Saw or Miter Saw: Necessary for cutting the hardwood to fit your space.
- Flooring Nailer or Stapler: Used for securing the hardwood to the subfloor.
- Rubber Mallet: To gently tap the boards into place without causing damage.
- Pry Bar: Useful for removing old flooring and adjusting boards during installation.
- Moisture Meter: Ensures your wood is at the correct moisture level before installation.
Materials
- Hardwood Flooring: Choose the type and finish that suits your home’s aesthetic.
- Underlayment: Provides a moisture barrier and soundproofing.
- Nails or Staples: Specific to the type of flooring nailer or stapler you are using.
- Wood Glue: For additional adhesion, especially in glue-down installations.
- Trim and Moldings: To finish the edges of the room and cover expansion gaps.
Safety Gear
- Safety Glasses: Protects your eyes from dust and debris.
- Dust Mask: Essential for protecting your lungs from sawdust.
- Knee Pads: Offers comfort and protection while working on the floor.
- Hearing Protection: Recommended when using loud power tools.
Having these tools and materials at your disposal will set the stage for a successful hardwood floor installation. Each item plays a crucial role in ensuring not only the quality of the installation but also your safety throughout the process.
With your toolkit ready, the next step is to prepare the subfloor, ensuring it’s clean, level, and moisture-resistant to provide a solid foundation for your new hardwood floors.
Step-by-Step Hardwood Floor Installation Guide
Preparing the Subfloor
Before you start laying down your beautiful new hardwood, it’s crucial to prepare the subfloor properly. This step ensures a smooth, stable surface for your hardwood.
- Cleaning: Begin by thoroughly cleaning the subfloor. Remove any debris, dust, or old adhesive. This ensures nothing interferes with the hardwood’s adhesion.
- Leveling: Use a straightedge to check for any uneven areas. If you find any high or low spots, sand them down or fill them with leveling compound. A flat subfloor prevents future squeaks and gaps.
- Moisture Barrier: Install an underlayment that acts as a moisture barrier. This protects the wood from moisture seeping up from below, which can cause warping over time.
Acclimating Hardwood
Acclimation is key to preventing issues like warping or gaps in your floor.
- Temperature and Humidity: Store your hardwood planks in the room where they’ll be installed for at least 48-72 hours. This allows them to adjust to the room’s temperature and humidity.
- Storage: Stack the planks flat and off the ground to allow air to circulate around them. This helps them acclimate evenly.
Laying Out the Floor
A well-planned layout makes the installation process much smoother.
- Measurement: Measure the room’s width and length to determine how many rows of hardwood you’ll need. This helps in planning your layout and cuts.
- Chalk Line: Use a chalk line to mark a straight line parallel to the longest wall. This will guide your first row of planks.
- Staggered Joints: Plan for staggered joints by varying the length of the first plank in each row. This not only looks better but also strengthens the floor.
Installing the Hardwood
Choose the method that suits your type of hardwood and subfloor.
- Nailing: Use a flooring nailer to secure the planks to the subfloor. This method is common for solid hardwood floors.
- Gluing: Apply wood glue to the subfloor and lay the planks on top. This method works well for engineered hardwood, especially on concrete subfloors.
- Floating: Some floors are designed to float above the subfloor, using interlocking planks without nails or glue. This is ideal for areas with high humidity.
Finishing Touches
Once the planks are laid, it’s time to finish the job for a polished look.
- Sanding: Lightly sand the floor to smooth out any minor imperfections or height differences between planks.
- Staining: If you want to change the wood’s color, apply a stain. Choose a stain that complements your home’s decor.
- Sealing: Finally, apply a sealant to protect the wood from wear and moisture. This step gives the floor a beautiful, lasting finish.
With these steps, you’re well on your way to a successful hardwood floor installation. Each stage is vital to ensure your new floor is both beautiful and durable.
Common Mistakes to Avoid
Installing hardwood floors can transform your space, but there are common pitfalls you need to avoid. Here’s what to watch out for to ensure your floor looks great and lasts for years.
Gaps
Gaps between floorboards can be both unsightly and problematic. They often occur due to improper acclimation or installation. To prevent this:
- Acclimate Properly: Ensure your hardwood is acclimated to the room’s temperature and humidity before installation. This helps prevent the boards from shrinking or expanding later.
- Check the Subfloor: A well-leveled subfloor is crucial. Use a straightedge to verify the level and fill any low spots with a leveling compound.
- Install Correctly: Follow the manufacturer’s guidelines for spacing between boards during installation. This allows for natural expansion and contraction without causing gaps.
Squeaks
Squeaky floors can be a nuisance and are often caused by loose boards or inadequate subfloor preparation. Here’s how to avoid them:
- Secure the Subfloor: Ensure the subfloor is tightly secured to the joists. Use screws instead of nails to minimize movement.
- Use the Right Fasteners: When nailing or stapling the hardwood, use the recommended fasteners and spacing to keep the boards firmly in place.
- Add a Layer of Underlayment: This not only acts as a moisture barrier but also helps reduce noise by cushioning the floor.
Uneven Surfaces
An uneven hardwood floor can ruin the aesthetic and feel of a room. To prevent this:
- Level the Subfloor: Before installation, sand down high spots and fill low areas to create a flat surface. This step is essential for a smooth finish.
- Choose Quality Materials: Ensure that the hardwood planks are straight and of high quality. Warped or bent boards will lead to uneven surfaces.
- Install with Care: Pay attention to each plank, ensuring it lays flat before securing it. Use a rubber mallet to gently tap the boards into place for a snug fit.
By avoiding these common mistakes, you’ll ensure a flawless hardwood floor installation that improves your home’s beauty and functionality. Next, we’ll tackle some frequently asked questions to help you better understand the installation process.
Frequently Asked Questions about Hardwood Floor Installation
How long does installation take?
The timeline for installing hardwood floors can vary based on a few factors like the size of the area, type of wood, and whether additional finishing is required. Generally, installation takes between 2-5 days. This includes laying the boards and allowing time for any necessary sanding, staining, and sealing. That if you’re finishing on-site, you’ll need extra time for the finish to dry and cure properly.
Can I install hardwood over concrete?
Yes, you can install hardwood over concrete, but there are some important considerations. First, you’ll need to ensure that the concrete is dry and level. Moisture can be a major issue, so it’s crucial to use a moisture barrier to prevent damage to the wood.
There are different methods for installation over concrete:
- Floating: This method involves connecting the planks to each other rather than attaching them to the subfloor. It’s a popular choice for concrete as it allows for some flexibility.
- Glue-down: This method involves adhering the wood directly to the concrete. It’s essential to use an adhesive that’s designed for this purpose to ensure a secure bond.
What is the best direction to lay hardwood?
Choosing the right direction to lay your hardwood depends on a few factors, including aesthetics and the structural layout of your space. Here are some guidelines:
- Parallel to the Longest Wall: Laying the boards parallel to the longest wall in the room can make a space feel larger and more cohesive.
- Perpendicular to Joists: For stability, it’s often recommended to lay the boards perpendicular to the floor joists. This helps distribute weight more evenly and prevents sagging.
- Consider Natural Light: Installing the boards in the same direction as the main source of natural light can improve the wood’s natural grain and make the room feel brighter.
The best direction will depend on your personal preference and the specific layout of your home. It’s always a good idea to plan your layout and visualize different options before starting the installation.
Conclusion
Choosing the right partner for your hardwood flooring project can make a world of difference. At Ramos Wood Floors, expert craftsmanship is at the heart of everything we do. Our team is dedicated to delivering superior results that not only improve the beauty of your home but also stand the test of time.
One of our standout features is our dust-free refinishing process. This innovative approach ensures that your home remains clean and comfortable throughout the installation or refinishing process. By minimizing dust and debris, we protect your indoor air quality and provide a seamless experience.
We pride ourselves on offering quality service that goes beyond just installing floors. From the initial consultation to the final finishing touches, we are committed to transparency, reliability, and excellence. Our team is always ready to answer your questions and provide guidance, ensuring your complete satisfaction with the final product.
For those in Illinois looking to invest in the timeless allure of hardwood flooring, look no further than Ramos Wood Floors. We offer a range of services, from installation to repair and refinishing, all custom to meet your specific needs. Explore our services and find how we can transform your space with elegance and precision.
Learn more about our expert services at Ramos Wood Floors.