

Oak floors are a timeless choice for many homeowners. Their natural beauty and durability make them a popular choice.
But over time, these floors can lose their luster. Scratches, dents, and fading can mar their appearance.
That’s where refinishing comes in. This process can breathe new life into your old oak floors.
In this comprehensive guide, we’ll walk you through the process of refinishing oak floors. We’ll cover everything from sanding to staining and sealing.
You’ll also see stunning before and after transformations. These will illustrate the dramatic impact refinishing can have on your home’s aesthetics.
Whether you’re a DIY enthusiast or considering hiring professionals, this guide will provide valuable insights. Let’s dive into the world of refinished oak floors.
The Beauty of Oak: Why Choose Oak Floors for Refinishing
Oak floors have a timeless appeal. They add warmth and elegance to any room. Their durability ensures they last for decades with proper care.
The unique grain pattern of oak is one of its standout features. This distinct appearance can be highlighted through refinishing. It allows the natural beauty of the wood to shine.
Refinishing oak floors can drastically transform a space. It offers the opportunity to choose from a variety of stain colors, altering the ambiance of a room. This flexibility is a major reason many choose to refinish.
Moreover, oak is a resilient hardwood. It withstands the wear and tear of daily life better than many other materials. When refinished, oak floors resist scratches and dents, maintaining their beauty for years.
Choosing to refinish instead of replace can also be cost-effective. It provides the aesthetic benefits of new flooring without the associated high costs. This makes oak an excellent choice for anyone considering a home upgrade.
Assessing Your Oak Floors: Before the Refinishing Process
Before embarking on a refinishing project, assess your oak floors thoroughly. Identifying existing problems is crucial for success. Scratches, dents, or deep stains need special attention.
Carefully inspect the floors in natural light. This helps spot imperfections that might be less visible under artificial lights. Check for color variations or warping.
Consider the age and previous treatments of your floors. Older floors may have multiple layers of finish that require more intensive sanding. Knowing the floor’s history guides your approach.
Create a checklist for a detailed assessment:
- Check for deep scratches and dents.
- Note areas with discoloration.
- Assess warping or cupping.
- Look for signs of water damage.
- Evaluate previous finishes or treatments.
Consulting with a professional might be helpful if you’re uncertain. Their expertise can determine if refinishing will meet your goals. With a clear understanding of your floor’s current state, you’ll be better prepared for the refinishing process.
Step-by-Step Guide to Refinishing Oak Floors
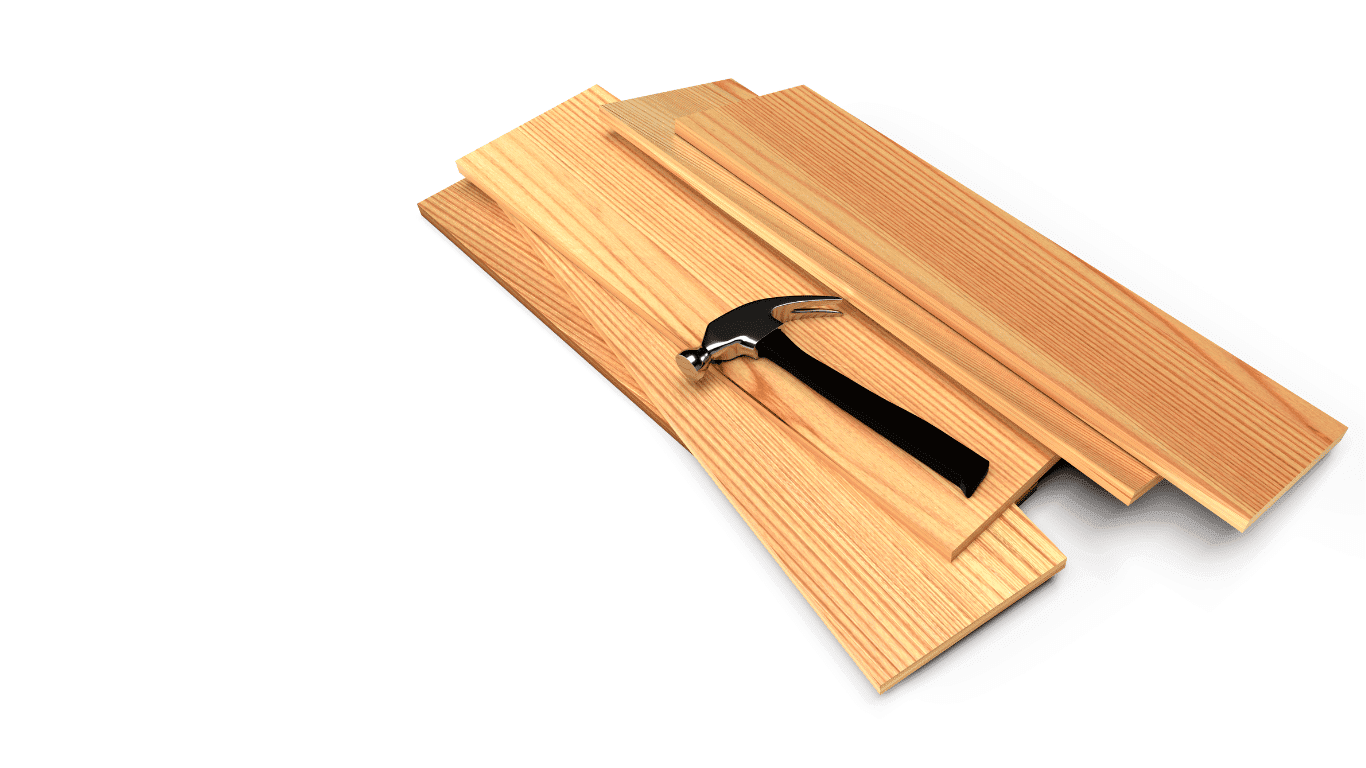
Refinishing oak floors can be a rewarding DIY project if approached with care. Begin by gathering the necessary tools and materials. Having everything ready ensures a smooth workflow.
Clear the room of furniture and rugs. You need open space to work efficiently. This also prevents any items from getting damaged by dust or stains.
Start by cleaning the floors thoroughly. Any dirt or debris can interfere with the sanding process. Ensure the surface is dry before moving on.
The next step involves sanding, which removes the old finish. Use the right grit sandpaper for different layers, starting coarse and moving to fine. Proper progression ensures a smooth outcome.
After sanding, clean the floors again to remove dust. Vacuum first and then wipe down with a damp cloth. A clean base is crucial for the stain to adhere properly.
Choose the stain color carefully. It’s wise to test stains on a small section before committing. This prevents unwanted surprises and ensures satisfaction.
Once you’ve selected your stain, apply it evenly across the floors. Follow the grain of the wood for uniform application. Take your time to avoid streaks or blotches.
After staining, allow the floors to dry completely. Check stain cans for specific drying times. Factors like humidity can affect this, so patience is key.
Finally, apply a sealant to protect your hard work. Options include water-based or oil-based polyurethanes. Consider their pros and cons before deciding.
Throughout the process, prioritize safety. Wear masks and ensure good ventilation. A well-planned approach will yield stunning, professional results.
Sanding Your Floors: The First Step to Transformation
Sanding is the foundation of any refinishing project. It removes old finishes and reveals new wood. Starting with a clean slate is vital for success.
Use a drum or orbital sander for large areas. Hand sanders can tackle edges and corners. Progress through different sandpaper grits for the best results.
Keep the sander moving to prevent gouges. Always follow the wood grain. Consistency in technique will ensure a smooth finish, setting up the next steps.
Staining Oak Floors: Selecting the Perfect Shade
Choosing a stain can dramatically change your space’s feel. Popular stains range from light natural hues to deep, rich tones. Consider your home’s decor and lighting.
Test stain samples on an inconspicuous area. This step helps confirm your choice and visualize the outcome. It’s easier to adjust now than regretting later.
Application technique matters; use a brush or cloth for even distribution. Work in small sections to maintain control and prevent uneven drying. Follow the wood grain to enhance its beauty.
Consider using a stain conditioner, especially with red oak. It helps ensure even absorption. This extra step can greatly affect the final look.
Allow the stain to dry undisturbed. Ensure adequate ventilation for best results. The patience required will be worth the wait.
Sealing the Deal: Protecting Your Refinished Floors
Sealing is the final step to preserving your work. A quality sealant adds shine and protects against wear. Choose based on the desired look and durability needs.
Water-based sealants dry quickly and have low odor. They often provide a clear finish. Oil-based options offer a deeper tone and can last longer.
Apply the sealant in thin, even coats. Multiple layers build protection and enhance longevity. Follow the manufacturer’s instructions for drying times between coats.
This final step is crucial for long-term satisfaction. Proper sealing not only enhances appearance but also preserves your beautiful oak floors for years to come.
Before and After: The Dramatic Results of Refinishing
Refinishing oak floors brings a noticeable transformation to any space. The process unveils the wood’s hidden beauty. Each step enhances the floor’s natural elegance, resulting in a stunning finish.
Before refinishing, floors often appear dull and worn. Scratches, scuffs, and faded areas are common. These imperfections detract from your home’s overall charm.
After refinishing, the difference is striking. The floors radiate warmth and vitality, complementing the rest of the decor. The newly finished surface not only looks beautiful but feels smoother underfoot.
Every homeowner treasures the fresh ambiance refinishing delivers. The contrast between old and new is profound. Whether choosing natural tones or bold stains, refinishing breathes new life into tired spaces.
Real-Life Transformations: Homeowners’ Stories
Many homeowners rave about their refinishing experiences. One such story features a family enhancing their century-old floors. They opted for a light stain, showcasing the wood’s grain beautifully.
Another couple transformed their dull, red oak floors into a bold statement. A rich, dark stain added depth and sophistication to their living room. The process exceeded their expectations, elevating the entire home’s aesthetic.
These stories illustrate the profound impact refinishing can have. Oak floors can become a home’s centerpiece, highlighting personal style and taste. Each transformation tells a unique story of renewal and beauty.
DIY vs. Professional Refinishing: What to Consider
Choosing between DIY and professional refinishing depends on multiple factors. Time, budget, and expertise play crucial roles in this decision.
For DIY enthusiasts, refinishing offers a rewarding project. It requires patience, precision, and the right tools. While it can save money, the DIY route demands substantial effort and attention to detail.
Professional refinishing, on the other hand, ensures a high-quality finish. Experts bring experience and efficiency, often completing projects faster. Although it might be more costly, hiring professionals can prevent costly mistakes, offering peace of mind and superior results.
Caring for Your Refinished Oak Floors: Tips for Longevity
Maintaining refinished oak floors prolongs their beauty and durability. Proper care ensures that they stay pristine for years.
Start with regular cleaning. Dust and dirt can dull the shine and cause scratches. Use a soft broom or vacuum with a hardwood setting.
Consider these essential maintenance tips:
- Wipe up spills immediately to prevent damage.
- Place mats at entrances to catch debris.
- Use furniture pads to avoid scratches.
Monthly check-ups and occasional deep cleaning keep the floors vibrant. With these practices, your floors can remain impressive and elegant.
Common Questions and Concerns About Refinishing Oak Floors
Refinishing oak floors may bring up a lot of questions. It’s important to address these to ensure successful results.
Many worry about the potential mess. Dustless sanding options can minimize this concern. Proper ventilation can also help manage fumes.
Consider these common queries from homeowners:
- How long does the refinishing process take?
- What is the best season for refinishing?
- Can I remain at home during the work?
Addressing these concerns helps in planning and executing a smooth refinishing project. With knowledge, you can tackle issues before they arise, ensuring a beautiful finish.
Conclusion: The Value of Refinished Oak Floors
Refinished oak floors add significant value to your home. The transformation is not just aesthetic; it enhances your living environment.
By refinishing, you restore the floors’ original beauty, increasing their lifespan. This process is also cost-effective compared to a full replacement.
Beyond monetary value, refinished floors contribute to a healthier indoor environment. They reduce allergens and bring warmth to your space. Refinished oak floors offer both immediate and long-term benefits. Consider this rewarding investment for your home today.